Milk Bath
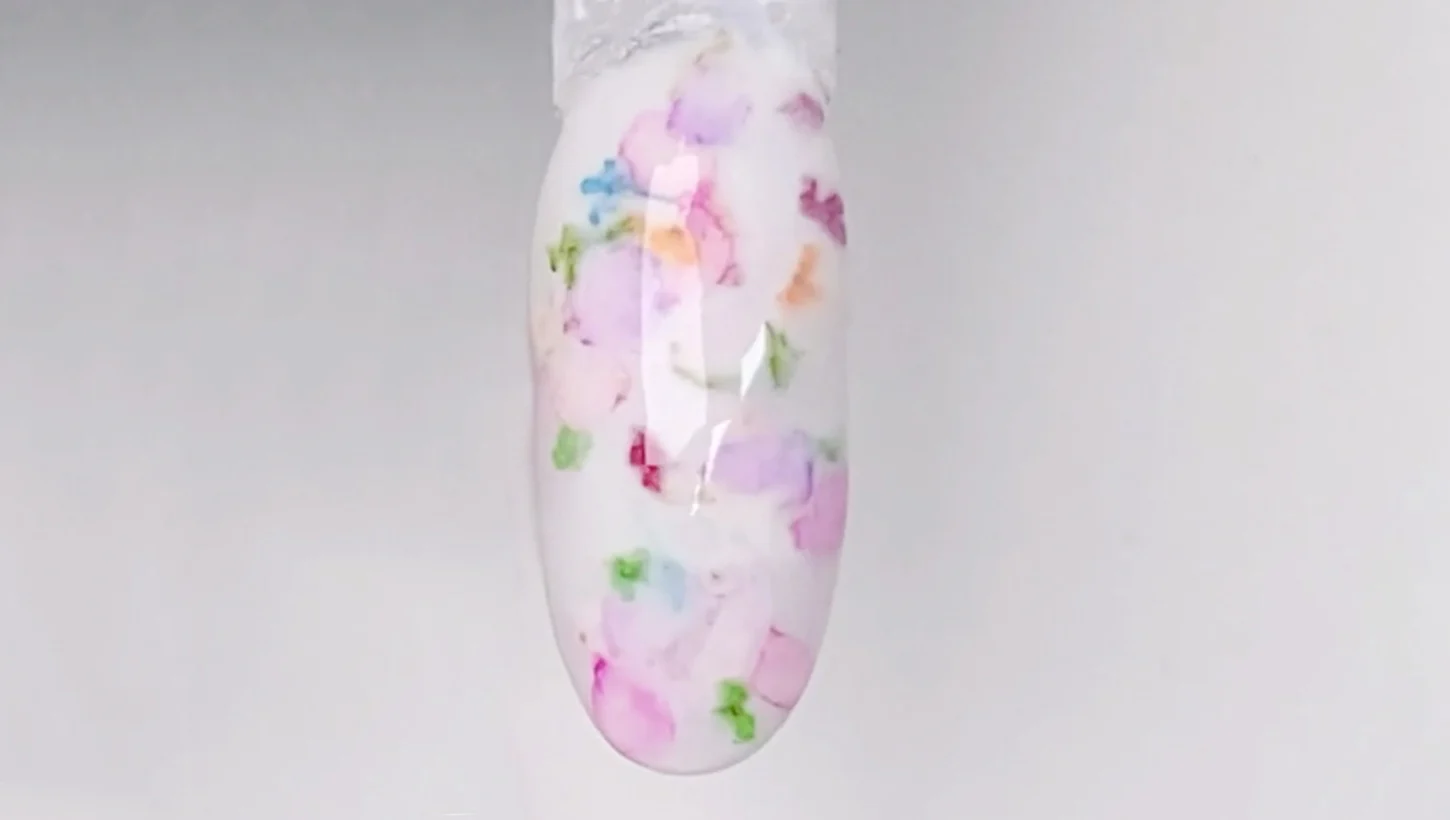
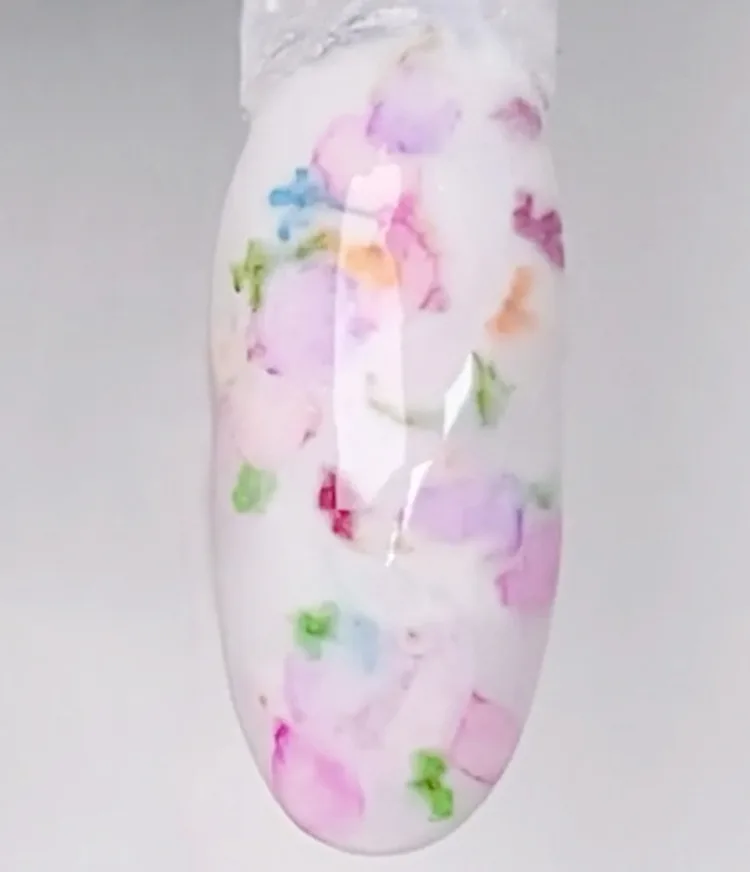
Use the latest trending dipping powder shades to get this encapsulation and milk bath nails look. Find out how to achieve the milky nails look using step-by-steps and more from OPI Professionals.
Step by Step
Step 1
Before you begin, prepare a mixture of different crumbled dry nail art flowers.
Step 2
After proper Powder Perfection nail prep, apply 1 coat of Powder Perfection Step 1 Base Coat and dip nail into Funny Bunny®. Dust off excess powder.
Step 3
Apply OPI Powder Perfection Base Coat to a section of the nail and quickly add dried flowers using tweezers, then press flowers into base coat. Continue to add more sections until you've covered the nail.
Step 4
Apply more OPI Powder Perfection Base Coat to saturate the flowers and the entire nail, then dip into Funny Bunny® again and use an orange wood stick to press down flowers. Dust off excess powder.
Step 5
Apply one more coat of OPI Powder Perfection Base Coat to the entire nail and dip into OPI Powder Perfection Clear Color Set Powder. Dust off excess powder.
Step 6
Apply a liberal amount of Powder Perfection Step 2 Activator to the entire nail.
Step 7
Once the nail is cured, file down the bulk and bumps of the nail using a sanding band on an e-file, or an EDGE 180 File. Shape and buff as usual. Dust off excess powder.
Pro Tip: It is important to file the nail smoothly to expose some of the dried flowers. The idea is to have flowers resemble flowers floating to the top of a milk bath.
Step 8
Apply 1 coat of OPI Powder Perfection Step 2 Activator. Wait 2-4 mins.
Step 9
Apply 2 coats of OPI Powder Perfection Step 3 Top Coat, allow each coat to dry.
Video Tutorial

Powder Perfection Nail Art


Show 'Em Off
Snap a nailfie and tag us @opi or use #OPIObsessed for a chance to be featured on our channels.
Follow us on Instagram


