Red-dy to Twinkle
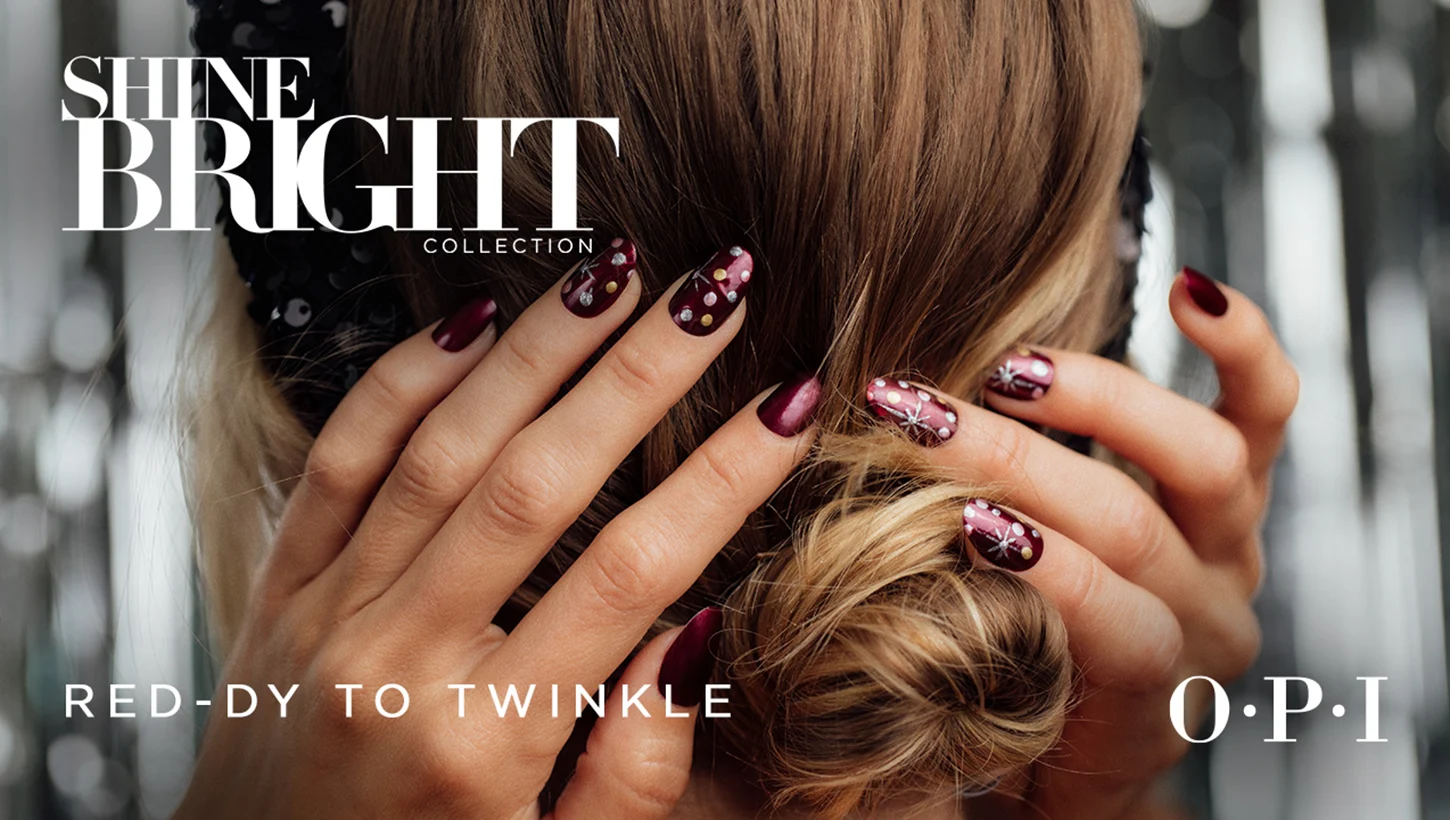
Step up your holiday manicure with a sophisticated DIY nail art look from OPI! This dotted nail art look will make you the star this holiday season.
Step by Step
Step 1
Begin by applying 1 coat of Infinite Shine Primer. Let dry.
Step 2
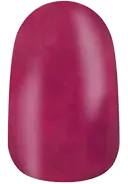
Apply 2 coats of OPI Infinite Shine Bogota Blackberry, allowing each coat to dry.

Step 3
Using a dotting tool and Happy Anniversary!, apply one dot to the center left of the nail.
Step 4
Using a small detail brush, draw 4 lines to create the star.
Pro Tip: Make the vertical line the longest, the horizontal line the second longest, and the cross lines the shortest.

Step 5
Using the dotting tool, fill in the remainder of the nail with dots with OPI Infinite Shine Happy Anniversary!, Suzi’s Slinging Mezcal, and Data Peach.

Step 6
Finish with 1 coat Infinite Shine Gloss.
Step 7
While still wet, place Swarovski® crystal to the center of the star. Let dry.

Video Tutorial


Show 'Em Off
Snap a nailfie and tag us @opi or use #OPIObsessed for a chance to be featured on our channels.
Follow us on Instagram