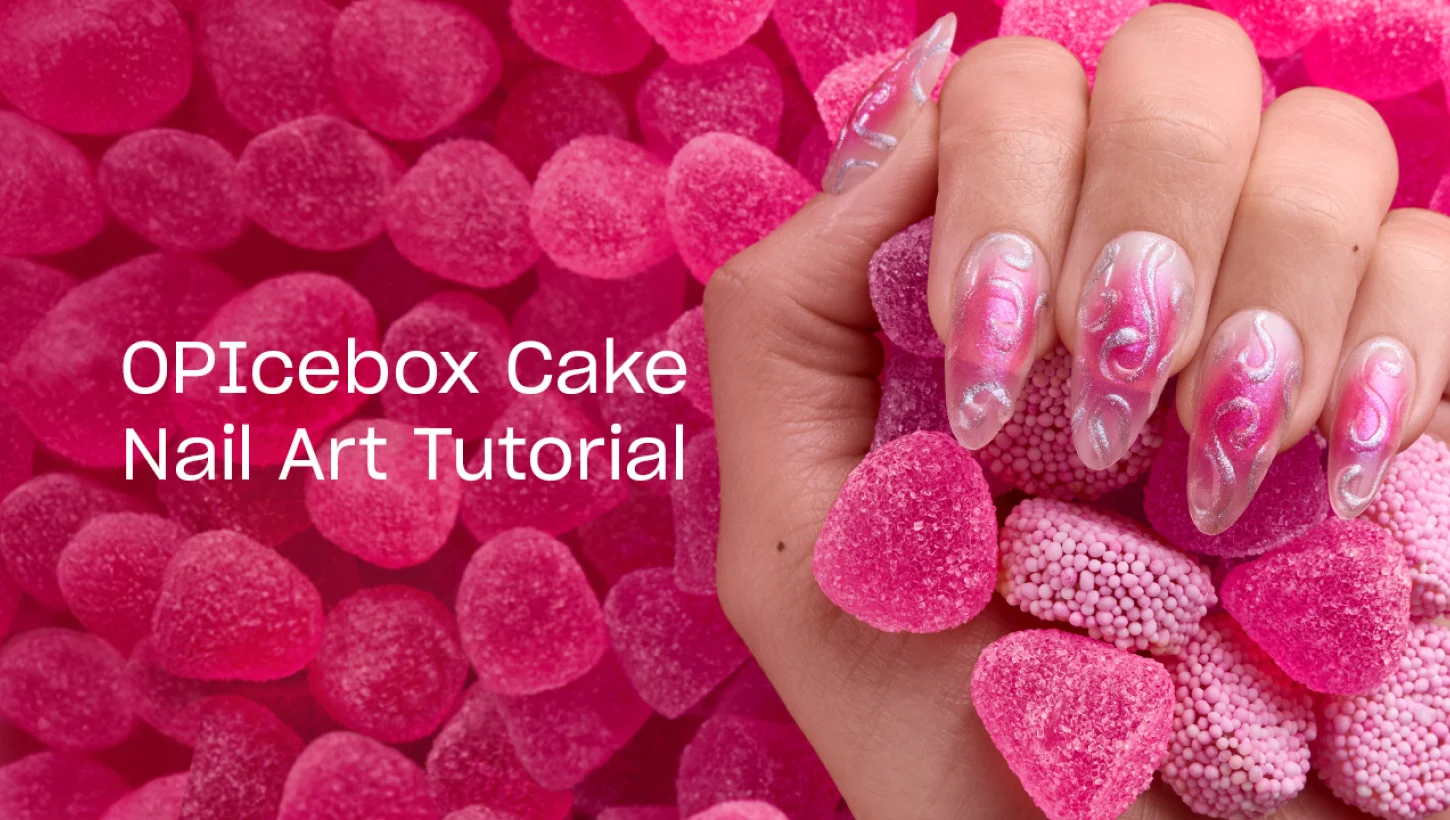
OPIcebox Cake
Layers of brrright pink 3D art make up this frozen treat for your nails.
Step by Step
Step 1
BEFORE YOU BEGIN: Start your color application on new GelEvate prep-free full coverage tips and a coat of Pink Over-slay. No base coat is needed, go straight to the color application.
Step 2
Apply a coat of Super Gloss Top Coat and sprinkle on Powder Perfection Clear Color Set Powder. Cure for 30 seconds. Dust off excess powder.

Step 3
With a makeup sponge, create an aura at the center of the nail using Lollypoppin’ Bubblegum. Cure for 30 seconds. Repeat as necessary.

Step 4
Apply a coat of Super Gloss Top Coat. Cure for 30 seconds. Remove gel residue with a nail wipe saturated with N.A.S. 99 Cleansing Solution.

Step 5
On a pallet, mix 1 part OPI’m Frosted and Powder Perfection Clear Color Set Powder to create a gel paste.

Step 6
Using a detail brush, create a swirly filigree design on the nail. Cure for 30 seconds. Remove gel residue with a nail wipe saturated with N.A.S. 99 Cleansing Solution.

Step 7
Apply Glow Up Nail & Cuticle Oil to the base of each nail and massage in.
Video Tutorial

Good Enough to Treat


Show 'Em Off
Snap a nailfie and tag us @opi or use #OPIObsessed for a chance to be featured on our channels.
Follow us on Instagram


