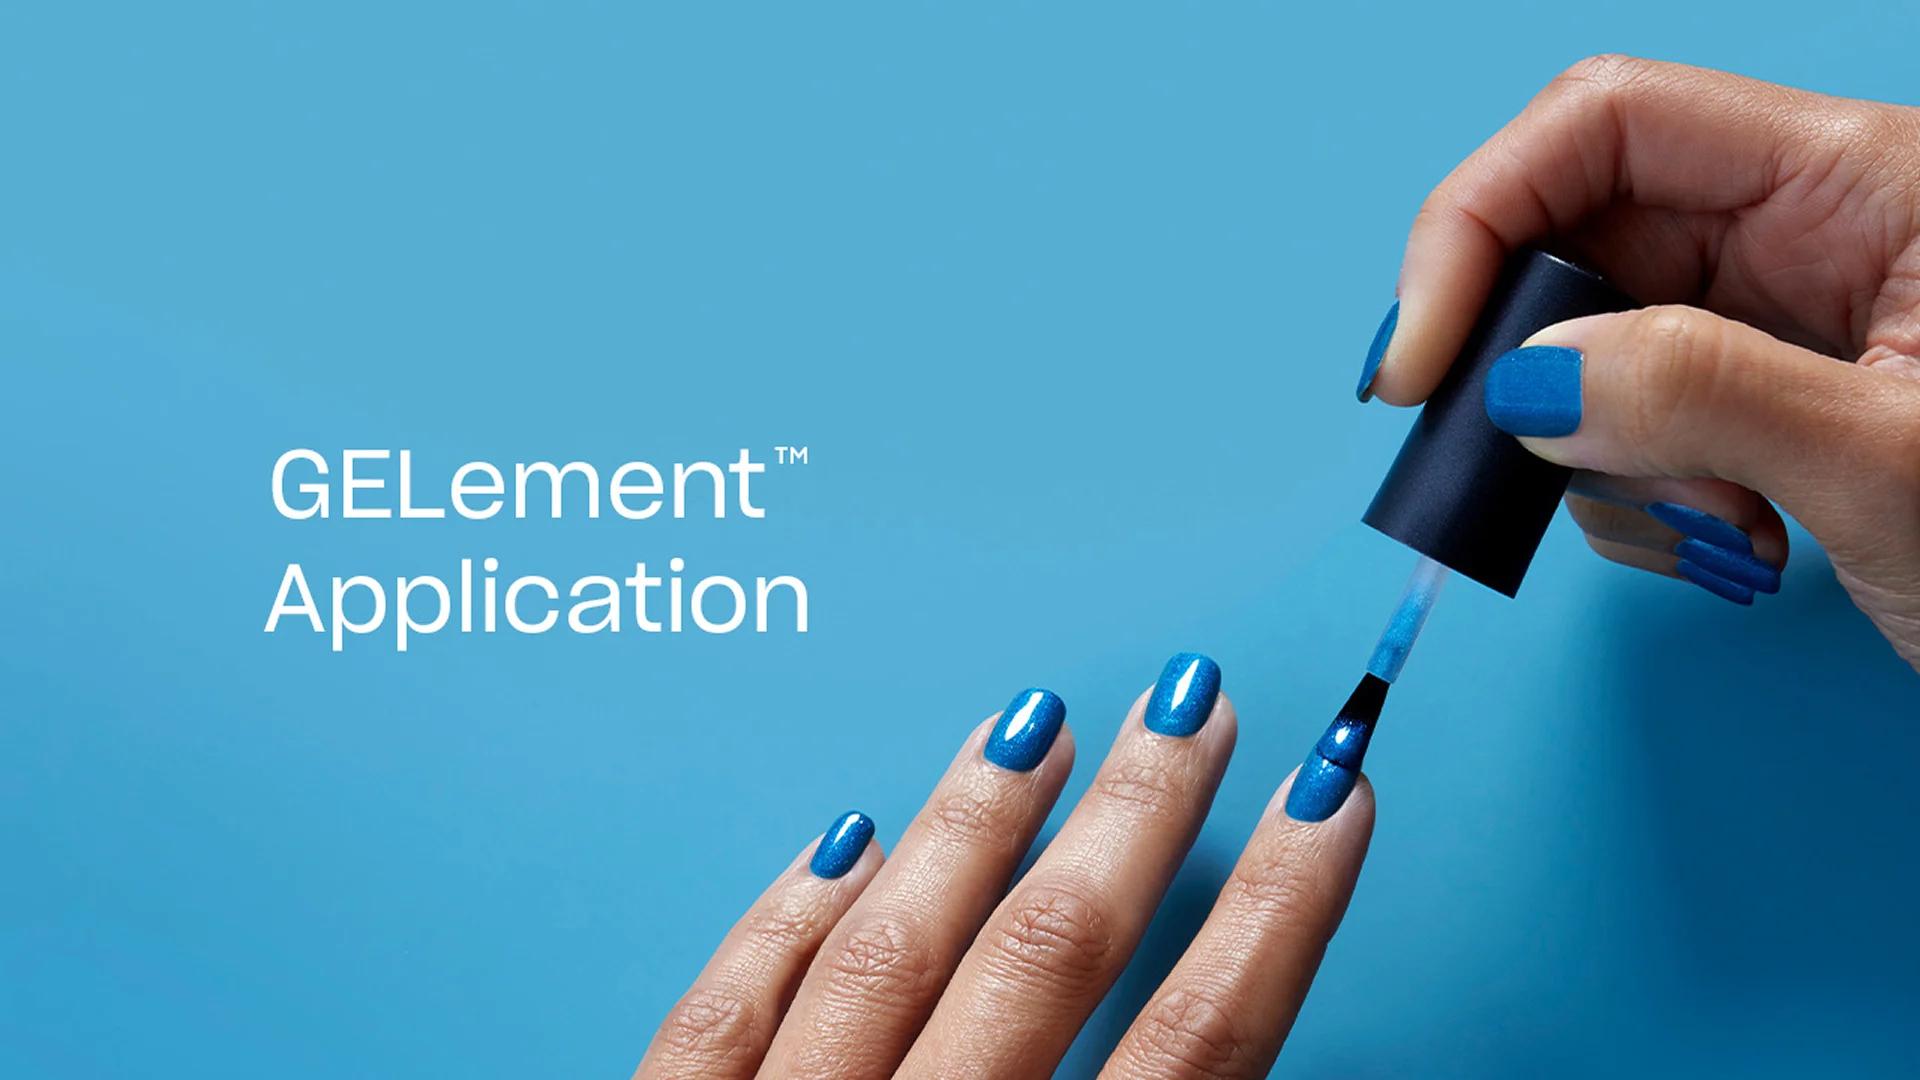
GELiversity™ At-home Gel Polish Application
Perfect At-home Gel Polish Application: Gel polish plays by different rules. Learn the "juice cleanse" loading technique for flawless results. Head to the bottom of the page to return to the GELiversity™ Class Page.
Step by Step
Step 1
BEFORE YOU BEGIN: Start with clean dry hands.
PREP - Prep those nails! SHAPE: Trim excess length if needed. Refine shape using the Shape Up side of the nail file.

Step 2
PREP - PUSH: Gently push back cuticles using the cuticle stick.

Step 3
PREP - BUFF: Buff the nail surface with the Shape Up Side of the nail file to remove the shine and improve gel adhesion. Only buff new growth on reapplication.

Step 4
PREP - CLEANSE: Scrub the nail with the prep pad to remove dust and oils.

Step 5
BASE COAT - Shake base coat for 30 seconds.
Step 6
BASE COAT - SEAL: Drain excess product from the brush, then paint the edge of each nail.

Step 7
BASE COAT - APPLY THIN: Drain excess product from one side of the brush. Apply a thin coat down the center of the nail, then down each side. Apply to 4 nails.

Step 8
BASE COAT - CURE 4 FINGERS: Cure for 60 seconds using the GELement™ Lamp. The lamp will turn off automatically after 60 seconds.

Step 9
BASE COAT - THUMB: Repeat application steps on the thumb and cure in the GELement™ Lamp for 60 seconds.

Step 10
COLOR - Shake gel polish color for 30 seconds.
Step 11
COLOR - SEAL: Drain excess product from the brush, then paint the edge of each nail.

Step 12
COLOR - APPLY THIN: Drain excess product from one side of the brush. Apply a thin coat down the center of the nail, then down each side. Apply to 4 nails.

Step 13
COLOR - CURE 4 FINGERS: Cure for 60 seconds using the GELement™ Lamp.

Step 14
COLOR - THUMB: Repeat application steps on the thumb and cure in the GELement™ Lamp for 60 seconds.

Step 15
Repeat: Apply 1-2 coats to reach desired color coverage. Cure each coat. First coat may appear slightly streaky with some shades. Additional coats will even out color.
Step 16
TOP COAT - Shake No-Wipe Top Coat for 30 seconds.
Step 17
TOP COAT - SEAL: Drain excess product from the brush, then paint the edge of each nail.

Step 18
TOP COAT - APPLY THIN: Drain excess product from one side of the brush. Apply a thin coat down the center of the nail, then down each side. Apply to 4 nails.

Step 19
TOP COAT - CURE 4 FINGERS: Cure for 60 seconds using the GELement™ Lamp.

Step 20
TOP COAT - THUMB: Repeat application steps on the thumb and cure in the GELement™ Lamp for 60 seconds.

Step 21
Repeat on the other hand.
Step 22
GEL POLISH APPLICATION BEST PRACTICES:
For ease of use, apply all steps on one hand at a time.
Only cure your GELement base, color, and top coat using the GELement lamp for best results.
Shake bottle vigorously for 30 seconds.
Paint the free edge of the nail first.
Keep coats THIN. You should barely have any polish on your brush to prevent your mani from peeling and ensure it cures properly.
Avoid gel lifting and possible skin irritation by keeping it off the skin–if product gets on skin, remove it before curing with cuticle stick.
When using the OPI GELement lamp, it is recommended that you apply each polish step one hand at a time, starting with four fingers and curing for 60 seconds before applying to the thumb and curing for 60 seconds.
Video Tutorial


Enroll in GELiversity™
Get schooled by must-see tutorials on gel prep, application, removal, and more.
EXPLORE LESSONS