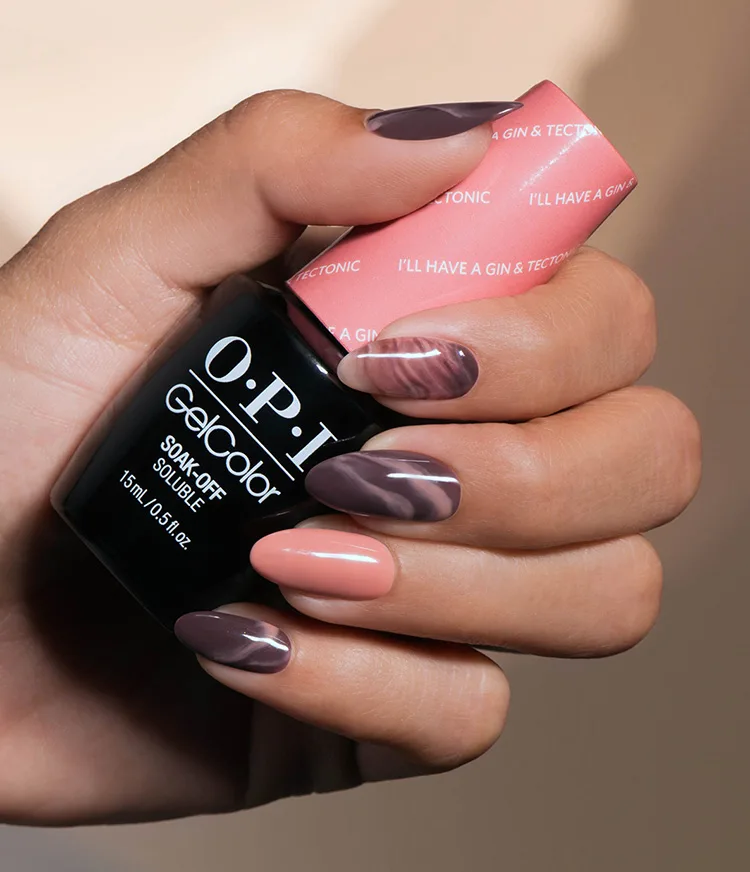
Rose Crystal Marble Nails
Try out this sophisticated marble nail art look for fall from OPI. Follow our step-by-step instructions to achieve these crystal-inspired marble nails.
Step by Step
Step 1
Begin by applying 1 coat of OPI GelColor Base Coat of your choice, to properly prepped nails. Cure for 30 seconds in OPI LED Light.
Step 2
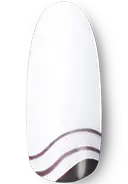
Use OPI GelColor That’s What Friends Are Thor to create three wavy lines with a fine detailing brush. Cure 30 seconds. Fill in the first wavy line. Cure 30 seconds.
Step 3
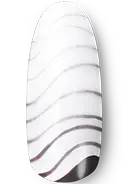
Use OPI GelColor Base Coat to dilute OPI GelColor That’s What Friends Are Thor. Continue to dilute each line with more base Coat. Cure each line 30 seconds.
Step 4
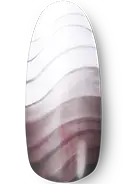
Using an angled brush dipped in OPI GelColor That's What Friends Are Thor and OPI GelColor Base Coat, go over wavy lines. Cure 30 seconds.
Step 5
Repeat Step 3 for desired coverage. Cure 30 seconds between each coat.

Step 6
Apply 1 coat of OPI GelColor Stay Shiny Top Coat. Cure for 30 secs. Remove the inhibition layer with a nail wipe saturated in N.A.S 99. Add a drop of ProSpa Cuticle Oil to each nail and massage in.


Show 'Em Off
Snap a nailfie and tag us @opi or use #OPIObsessed for a chance to be featured on our channels.
Follow us on Instagram