How to Sculpt Acrylic Nails Using a Nail Form
Get looooong, strong nails with this step-by-step guide for sculpting acrylics using a nail form.
Step by Step
Step 1
BEFORE YOU BEGIN: Prep those nails! Follow OPI Prep step basics or e-file prep step-by-steps.
Step 2
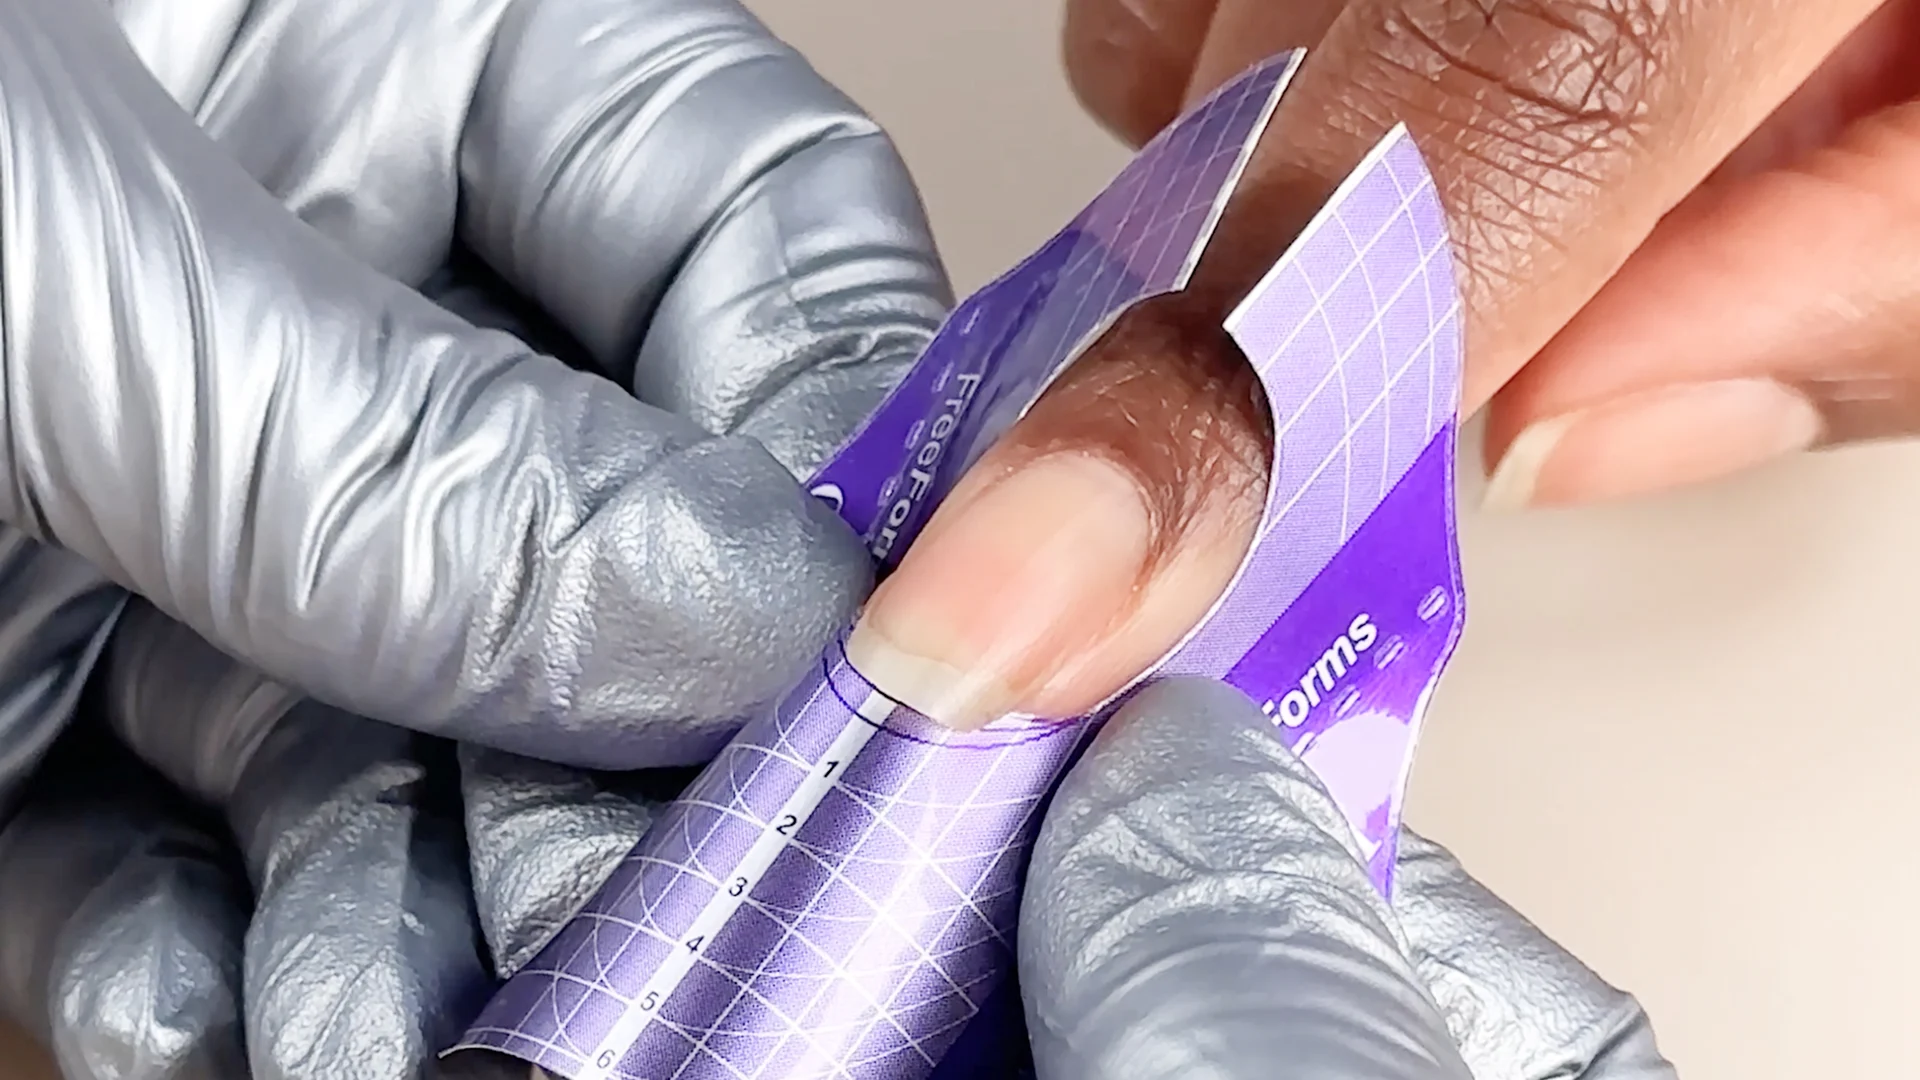
Ensure the form fits snugly under the nail's free edge with no gaps or unevenness. A proper fit prevents product seepage and ensures a smooth, even enhancement. Adjust as needed for a flawless sculpted nail.

Step 3
Customize the form if needed and secure the tab underneath for extra support.

Step 4
Secure the front tabs of the form, making sure they line up symmetrically.

Step 5
Holding the form at a 45° angle, slip the form under the edge of the natural nail, rocking the form up into place. Secure the the tabs and tighten to the finger. Repeat on remaining nails, apply forms to one hand at a time.

Step 6
Apply a coat of Bond Aid followed by a coat of Bondex. Allow to dry.

Step 7
Mix ratio for Liquid Perfection Monomer should be medium-wet and the bead should have a slight texture similar to an orange peel, but should not be powdery.

Step 8
Pick up a medium-wet bead of Absolute Perfection or Powder Perfection Powder and place it on the sculpting form. Do not wipe the brush you will need the remaining monomer to guide the product. If needed use the tip of the brush to adjust the smile line.

Step 9
Pick up a medium-wet bead of powder and place it in the center of the nail. Use the tip of the brush to guide the product from side to side and blending up to the smile line.

Step 10
Pick up a medium wet bead and place towards the base of the nail. Use the tip of the brush to guide the bead back to the cuticle line, leaving a slim margin to avoid touching the skin. Taper the product thin and smooth at the cuticle line.

Step 11
Allow the product to set up before filing. Approximately 3-4 minutes for Absolute Acrylic Powders and 5-6 for Powder Perfection Powder.

Step 12
Pro Tip: Finish nails with your choice of OPI GelColor Shade or your favorite OPI GelColor Top Coat, following OPI GelColor step-by-steps.
Step 13
Remove the forms from the nail by gently squeezing the form to release and rocking down.

Step 14
Refine the nail shape with a hand file or e-file following OPI's filing step by steps.

Step 15
Cleanse nails with a nail wipe saturated with N.A.S. 99 Cleansing Solution.

Step 16
Apply a drop of Nail & Cuticle Oil to the base of each nail and massage in.

Video Tutorial

