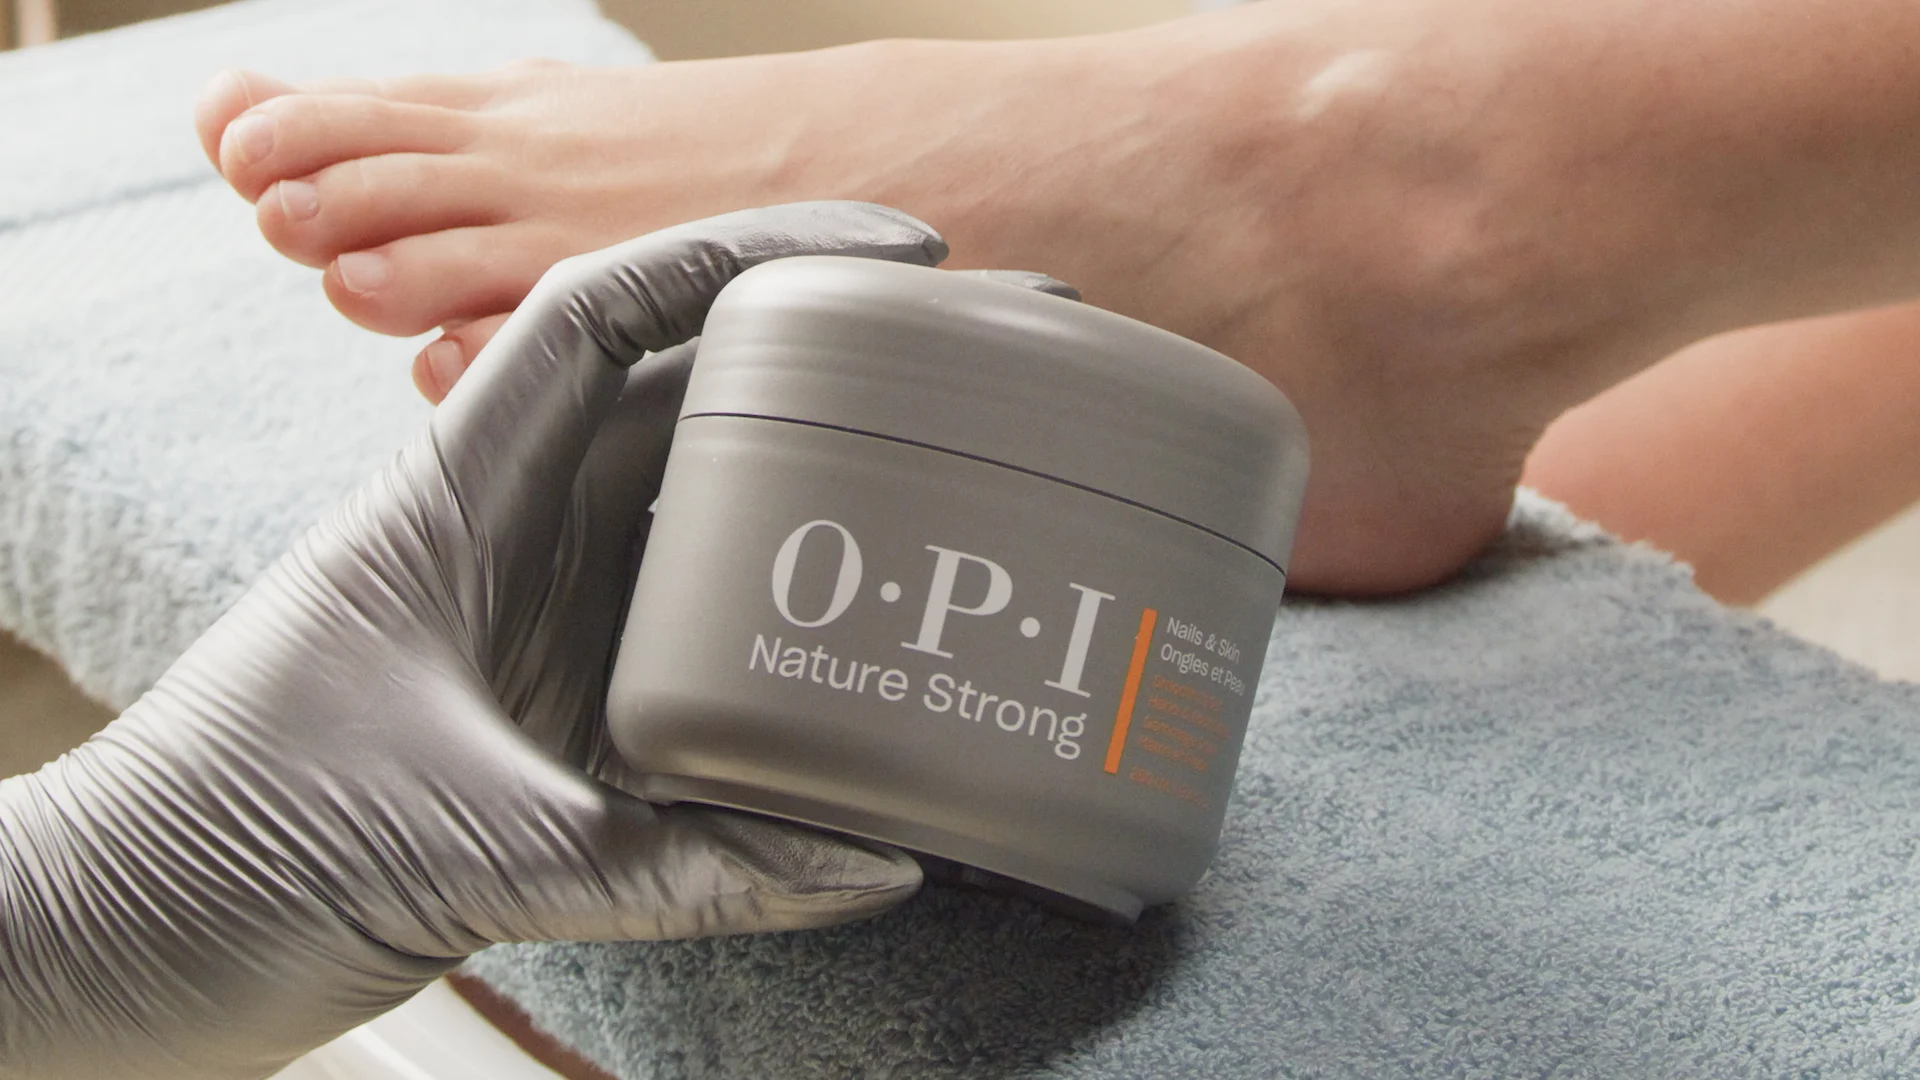
Pedi Signature Tutorial
You’re always a foot ahead with your services game. Give clients a signature pedi using our line of Nature Strong for Nails & Skin.
Step by Step
Step 1
BEFORE YOU BEGIN: Prep warm damp towels by adding a pump of Soften Up Pedi Soak to warm water and saturate towels, remove excess water.
Step 2
Soak feet in a warm water bath with 1-2 pumps of Soften Up Pedi Soak for 10 minutes to cleanse. Dry feet with a towel.

Step 3
Spray 4-5 sprays of Soft & Gone Callus Softener to any dry or callused areas on the bottom of each foot. Allow to soften while performing nail prep.

Step 4
Trim nails and shape with a 240-grit file.

Step 5
Apply a small amount of Soothe & Remove Cuticles to the perimeter of each nail. Allow to soften 1-2 minutes.

Step 6
Gently slide the cuticle pusher along the nail to lift and loosen any cuticle stuck to the nail plate.

Step 7
Use a cuticle removal tool to remove cuticle from the nail plate.

Step 8
Use the 180-grit side of 100/180-grit buffer to smooth nails.

Step 9
Use a foot file on the bottom of the foot to smooth calluses and remove dry skin. Re-apply Soft & Gone Callus Softener while smoothing skin as needed.

Step 10
Warm a generous amount of Smooth It Out Hand & Foot Scrub between your hands, then massage onto foot and leg with circular motions.

Step 11
Return feet to the footbath and rinse away the scrub. Dry feet with a towel.

Step 12
Warm a generous amount of Moisture Mission Hand & Foot Cream and apply to each foot and leg.

Step 13
Cleanse nails thoroughly with a nail wipe saturated with N.A.S. 99 Cleansing Solution and apply a coat of Bond Aid™ before nail product application. Apply OPI Lacquer system of choice.

Step 14
Apply a drop of Glow Up Nail & Cuticle Oil to the base of each nail and massage in.

Step 15
Help clients find their perfect take-home products by assessing their skin and nail needs.

Video Tutorial

