GELiversity At-home Gel Polish Removal
Proper Gel Polish Removal at Home: Stop picking and peeling off your gel. This gentle method saves your natural nails. Head to the bottom of the page to return to the GELiversity™ Class Page.
Step by Step
Step 1
BEFORE YOU BEGIN: Start with clean dry hands.
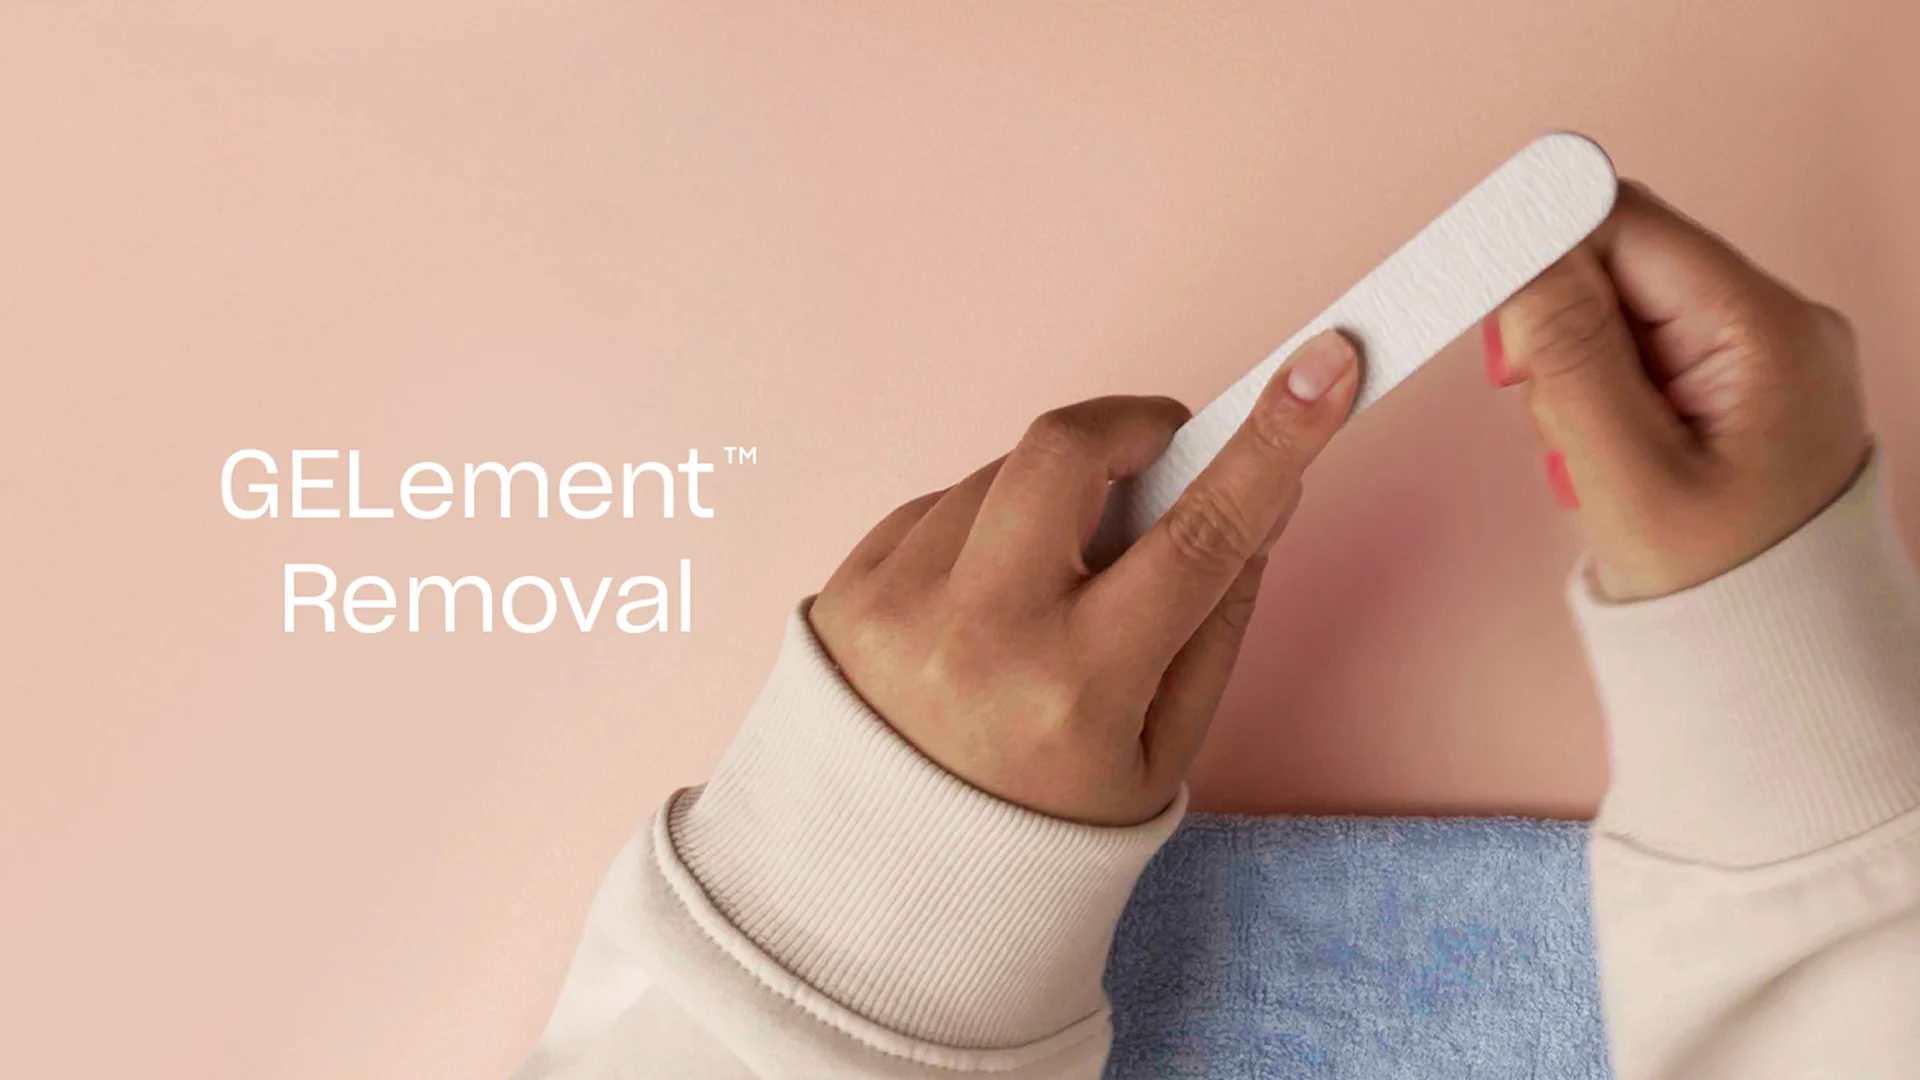
BREAK THE SEAL: File each nail’s edge with the Shape Up side of the file.

Step 2
REMOVE SHINE: File the gel polish surface to remove the top coat and break the seal.

Step 3
Pro Tip: Check the file for grit loss and replace as needed. The remaining gel polish should look dull and scratched up.
Step 4
PREPARE WRAPS - For best results, wrap one hand at a time.
SATURATE: Soak the cotton pad with acetone.

Step 5
PLACE: Apply the pad to the gel polish, covering the entire nail.

Step 6
FOLD: Fold the wrap over the finger.

Step 7
WRAP: Wrap one side around the finger and then the other. Tighten the wrap.

Step 8
SOAK: Set a timer and soak for 20 minutes.

Step 9
Pro Tip: Do not peek! Opening wraps too soon will allow the acetone to evaporate and compromise removal.
Step 10
CHECK: Remove a wrap from one finger. if the gel polish hasn’t released, replace the wrap and soak for a few more minutes, then re-check. Check remaining fingers.

Step 11
REMOVE: Remove one wrap at a time. Gel polish should flake away. DO NOT SCRAPE gel polish off.

Step 12
REMOVE RESIDUE: Saturate a pad with acetone and scrub nails to remove any residue.

Step 13
SMOOTH: If needed, smooth the nail with the BUFF UP side of the file.

Step 14
CONDITION: Apply cuticle oil to the base of each nail and massage in.

Video Tutorial


Enroll in GELiversity™
Get schooled by must-see tutorials on gel prep, application, removal, and more.
EXPLORE LESSONS