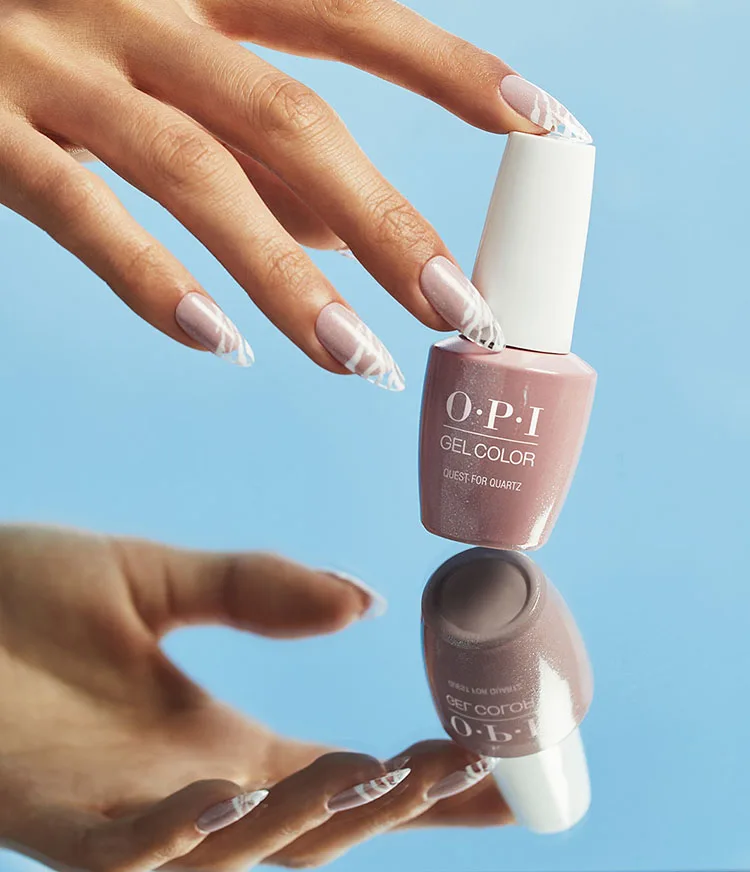
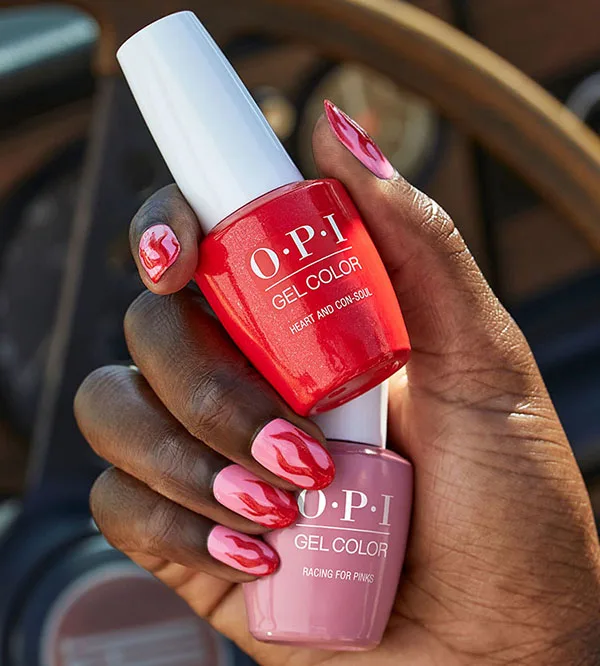
Quest For Stripes
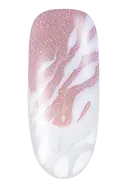
Get ready to take on any quest with this marbled tiger print nail art look from the OPI Xbox Collection: Quest for Stripes. Explore spring nail art and more.
Step by Step
Step 1
Apply 1 coat of Stay Classic or Stay Strong Base Coat. Cure for 30 seconds.
Step 2
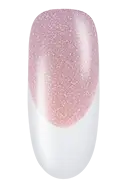
Apply one coat of OPI GelColor Quest for Quartz to the top 2/3 of the nail, leaving the tip clear. Cure for 30 seconds in the OPI LED Light. Use a clean-up brush saturated with N.A.S. 99 to refine the edge if needed. Repeat for coverage.
Step 3
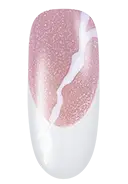
Use a detail brush and OPI GelColor Alpine Snow to create a tiger stripe pattern diagonally across the nail. Flash cure for 5 seconds in the OPI LED Light.
Step 4
Continue creating additional lines in OPI GelColor Alpine Snow to complete the design. Cure for 30 seconds in the OPI LED Light.
Step 5
Apply 1 coat of Stay Shiny Top Coat and cure for 30 seconds. Wipe the nail clean with an Expert Touch Wipe and N.A.S 99. Finish with ProSpa Nail & Cuticle Oil and massage in.
Video Tutorial

OPI x Xbox Nail Art


Show 'Em Off
Snap a nailfie and tag us @opi or use #OPIObsessed for a chance to be featured on our channels.
Follow us on Instagram