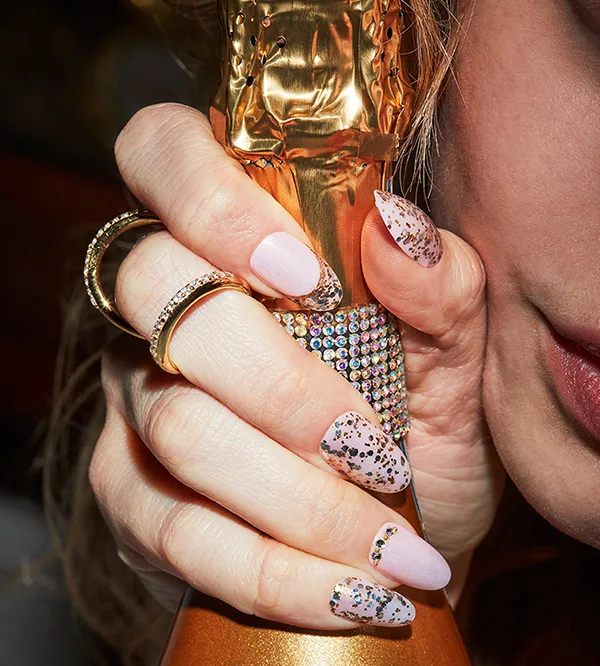
Glitter-N Up
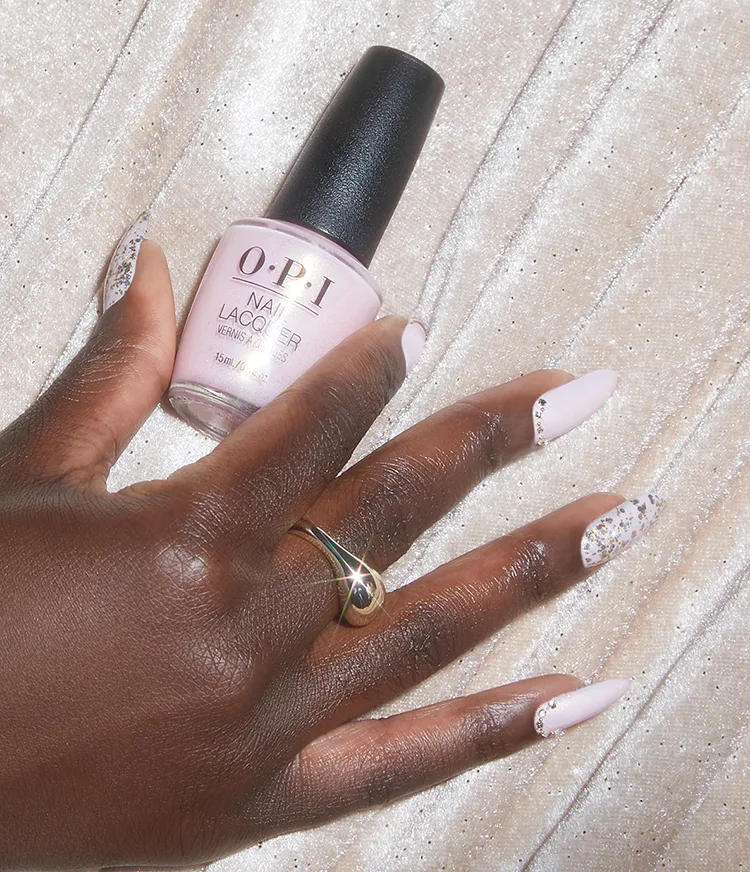
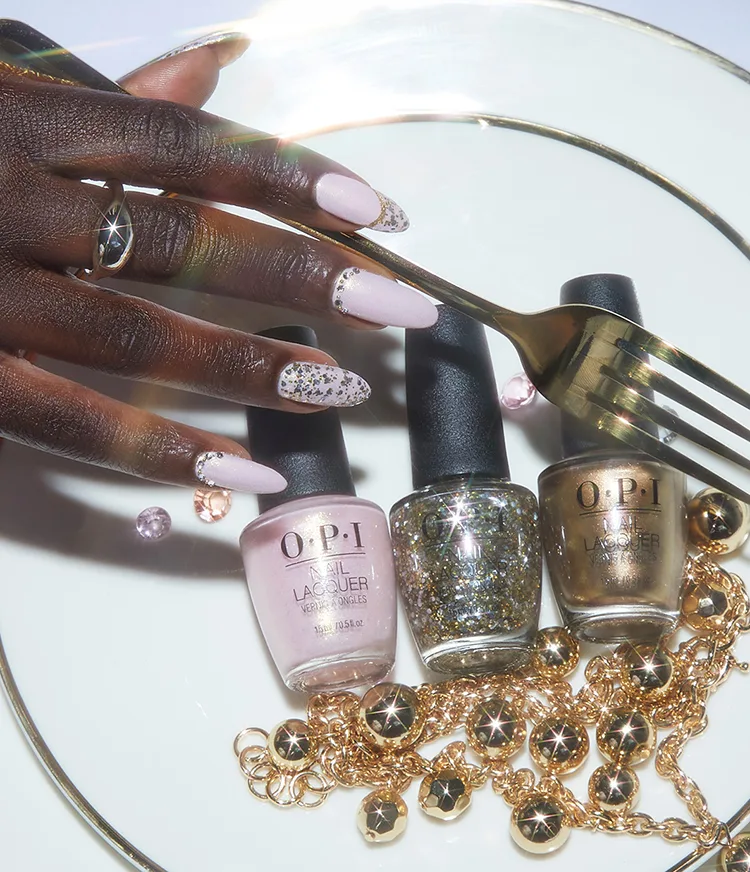
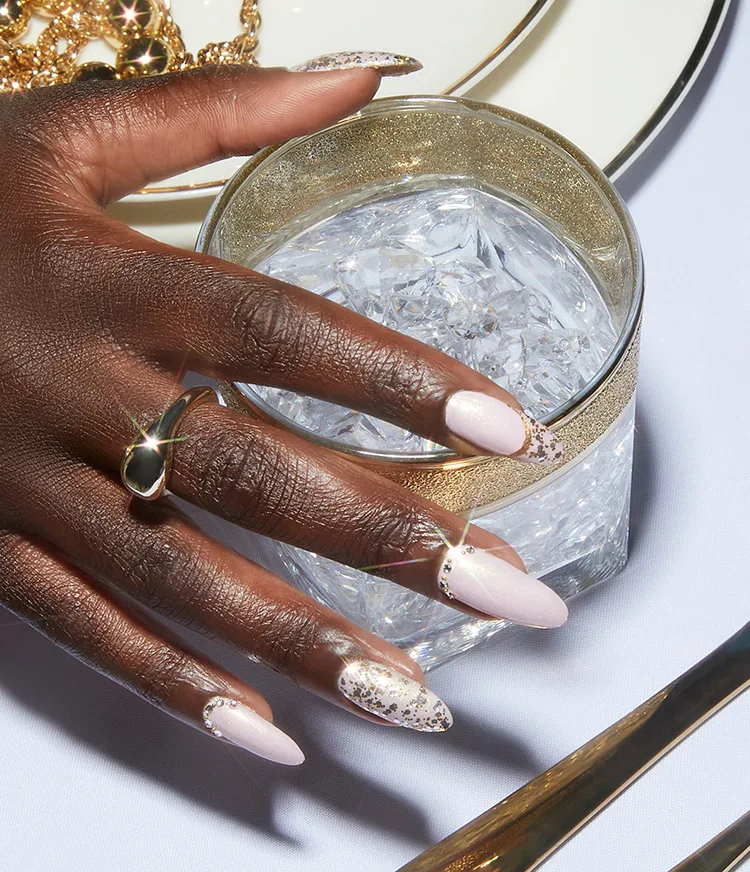
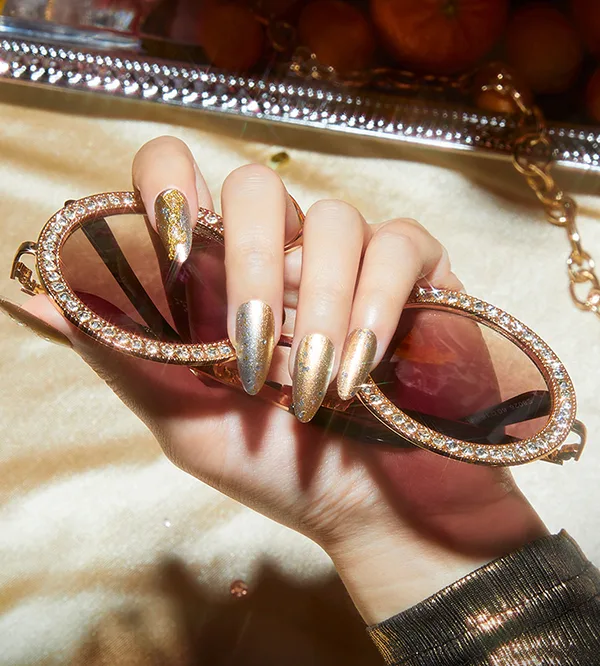
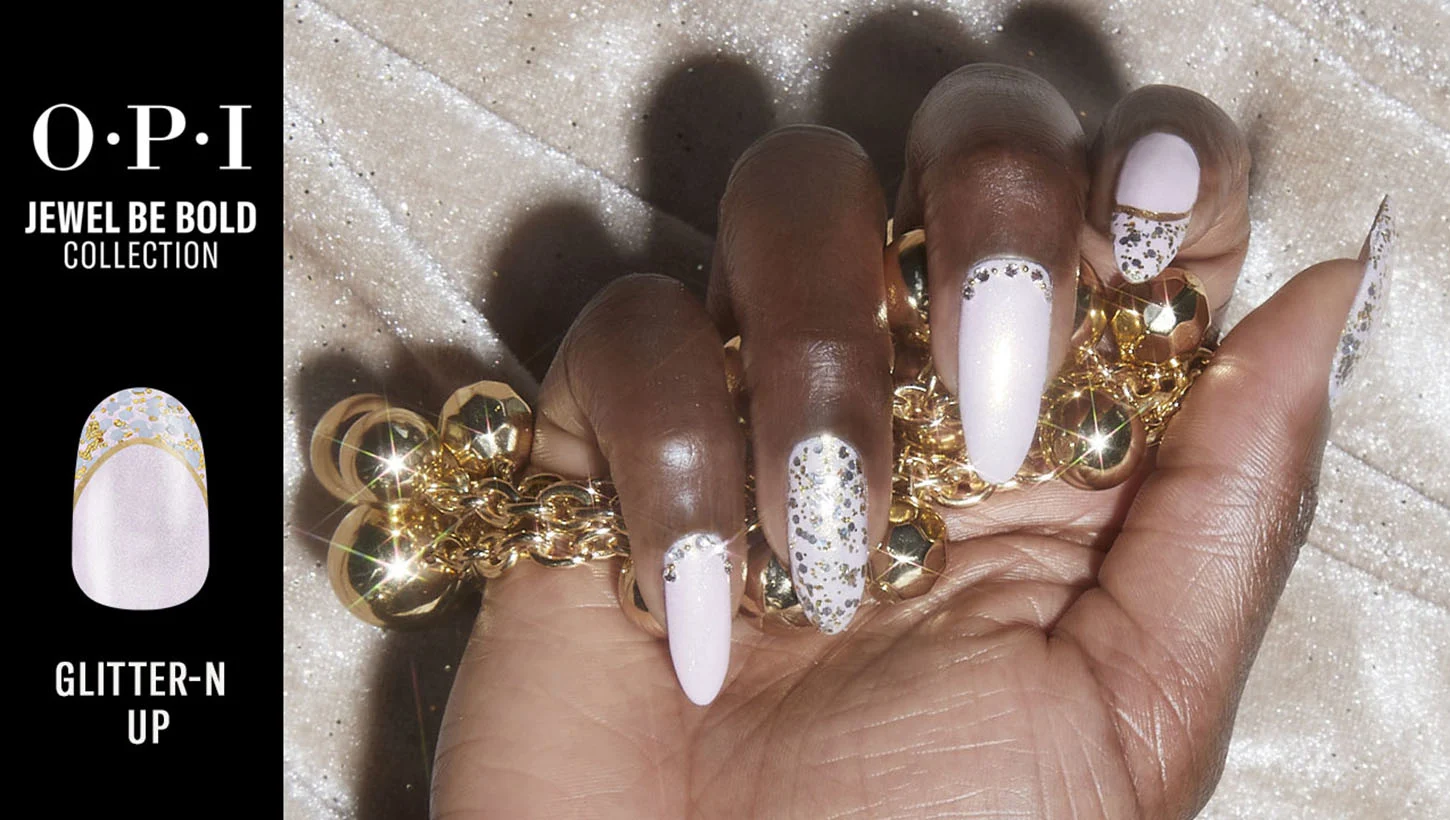
Bling out your Frenchie with glitter and crystals in this festive nail art. Use trending holiday nail polish shades from the Jewel Be Bold collection to get this DIY nail art look.
Step by Step
Step 1
Complete OPI Nail Lacquer Nail Prep Step by Steps. Apply one coat of Natural Nail Base Coat. Allow to dry.
Step 2
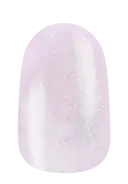
Apply two coats of Nail Lacquer Merry & Ice to all five nails. Allow each coat to dry.
Step 3
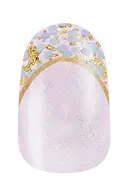
Using a detail brush and Nail Lacquer Sleigh Bells Bling paint a slim French smile line on the index fingernail. Allow to dry.
Pro Tip: Apply a dot of color to the center of the nail and work from center to sideline to create an even smile.

Step 4
With Nail Lacquer Pop the Baubles fill in the French tip on the index fingernail. Allow to dry.
Step 5
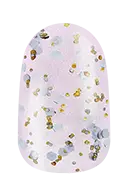
Apply Nail Lacquer Pop the Baubles to the thumb and ring fingernails. Allow to dry.
Step 6
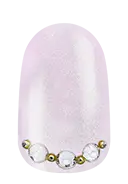
Apply a coat of Nail Lacquer Top Coat to each nail. With a crystal applicator or orange wood stick apply clear crystals and beads to the cuticle line of the middle and pinkie fingernails, gently pressing into the top coat. Allow to dry.
Video Tutorial
Jewel Be Bold Nail Art

Show 'Em Off
Snap a nailfie and tag us @opi or use #OPIObsessed for a chance to be featured on our channels.
Follow us on Instagram
