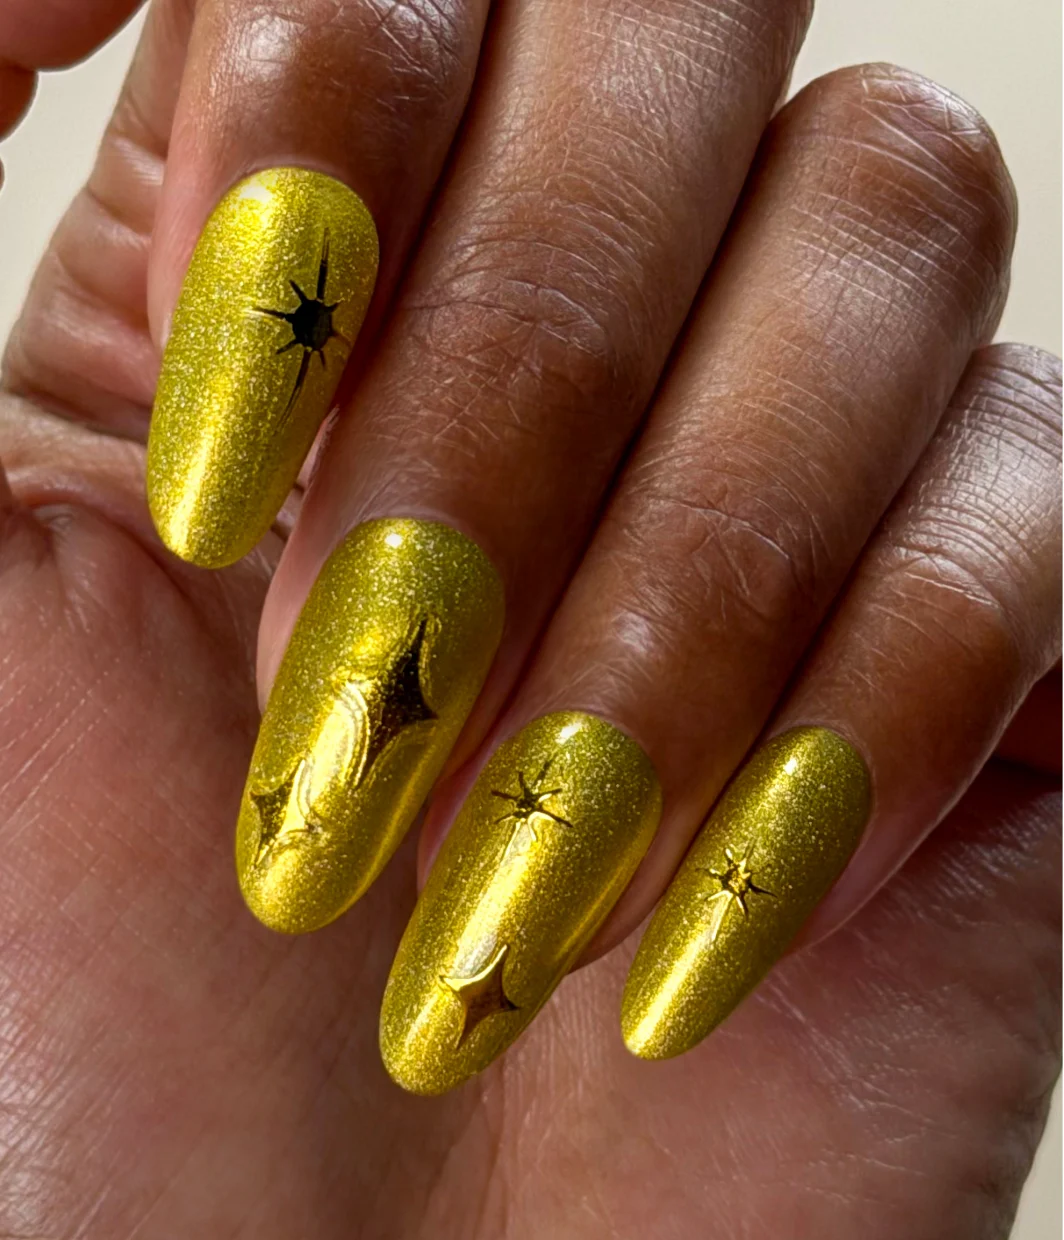
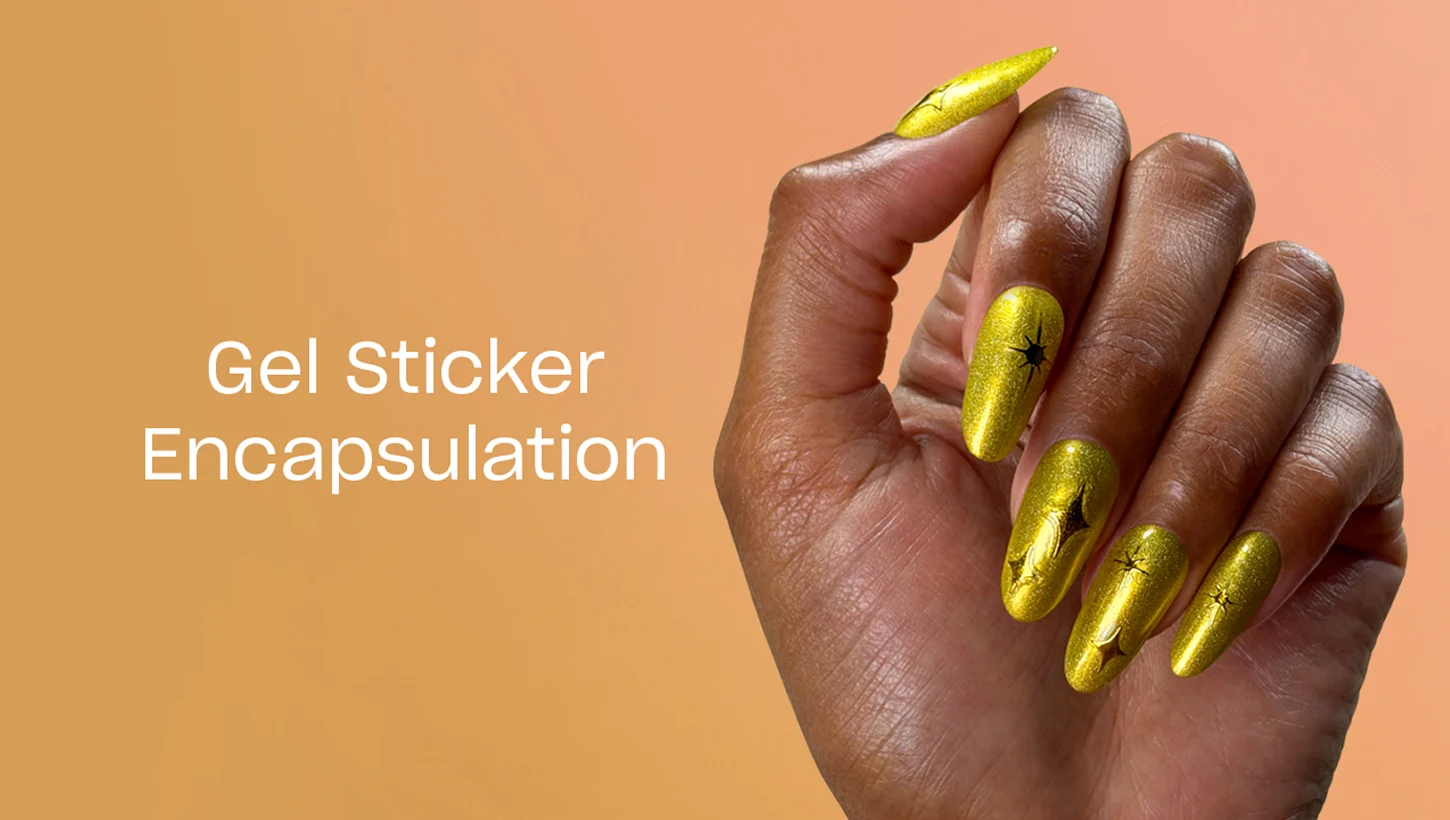
How to Encapsulate Stickers with Gel
How layering and encapsulation let you build dimension while keeping the surface smooth, sealed, and protected.
Step by Step
Step 1
Before You Start:
Have GelColor applied and cured, not top coated. Cleanse tacky layer on color coat with a lint-free wipe and N.A.S. 99.
Step 2
Lightly refine the surface, then cleanse again with N.A.S. 99. A clean surface prevents lifting between layers.
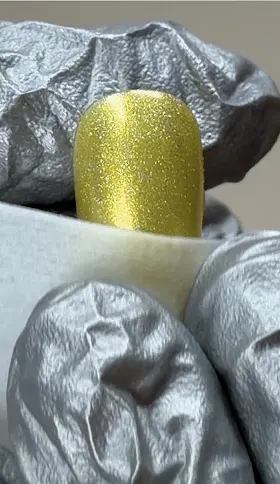
Step 3
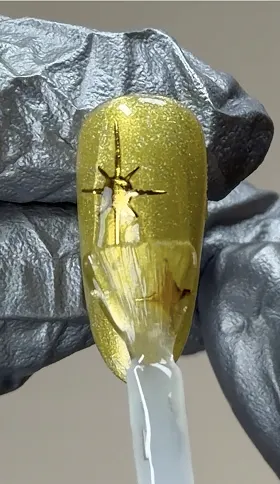
Apply sticker with tweezers. Press center outward until fully flat. Full contact creates a stable base for encapsulation.
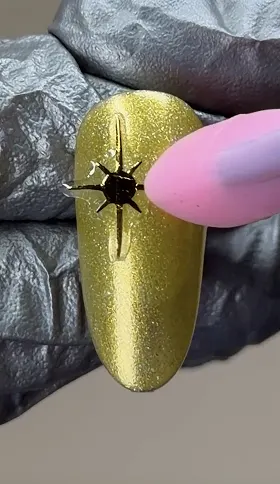
Step 4
Apply a thin layer of base coat over the sticker. Cure. Locks the design and prevents shifting during wear.
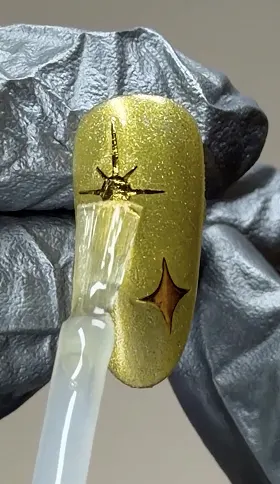
Step 5
Top coat to seal. Add a second layer for an even finish. Sealing protects and eliminates surface texture.
Video Tutorial
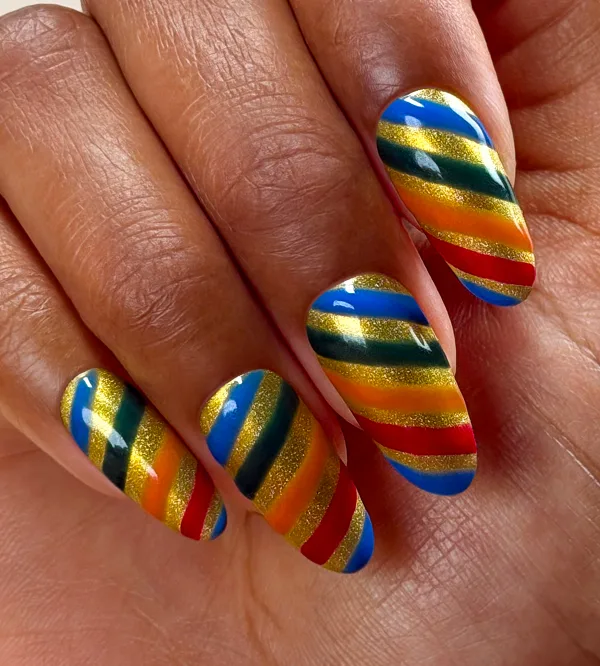
OPI x M&M'S Holiday Collection Nail Art Techniques
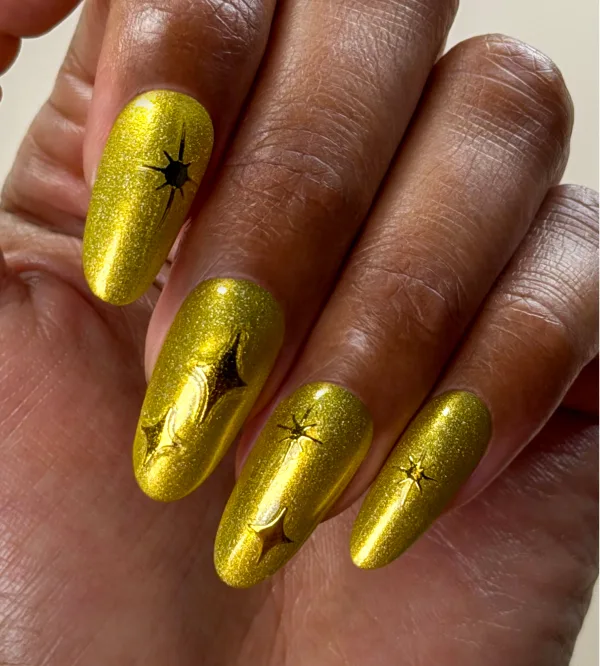
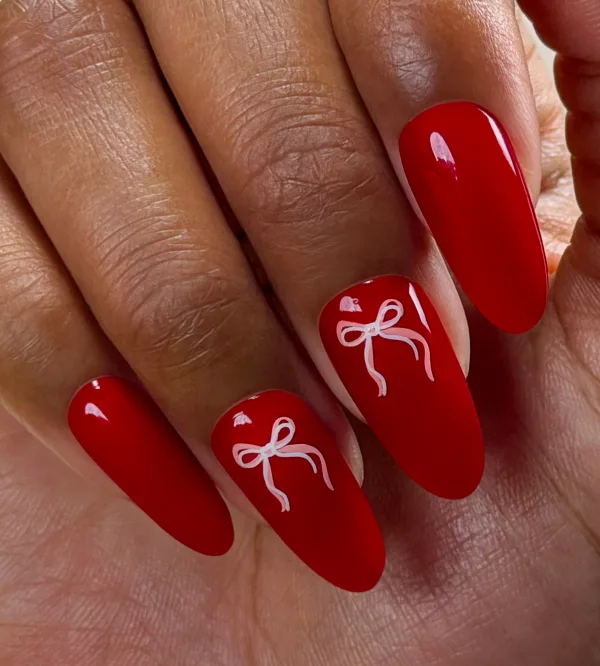
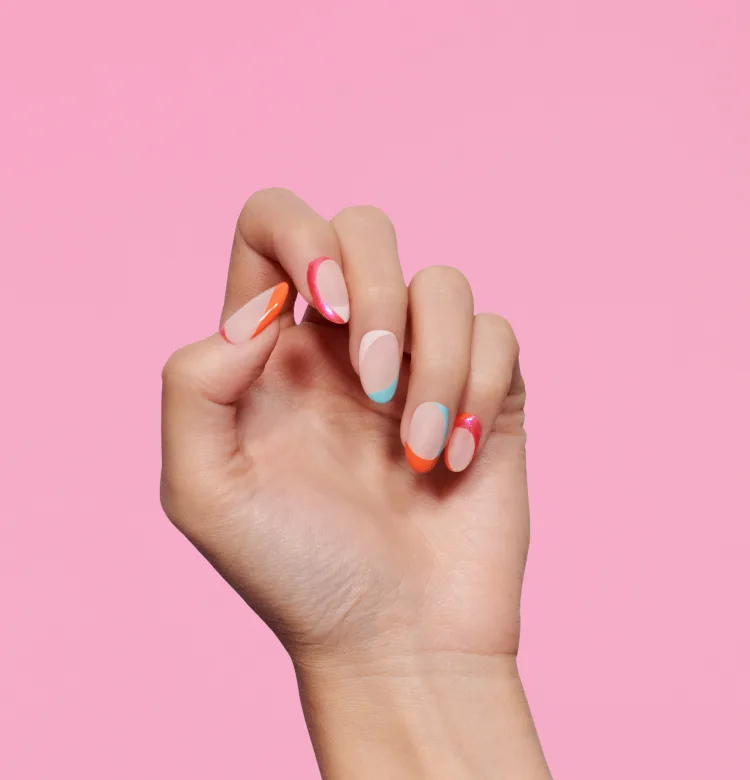

Show 'Em Off
Snap a nailfie and tag us @opi or use #OPIObsessed for a chance to be featured on our channels.
Follow us on Instagram