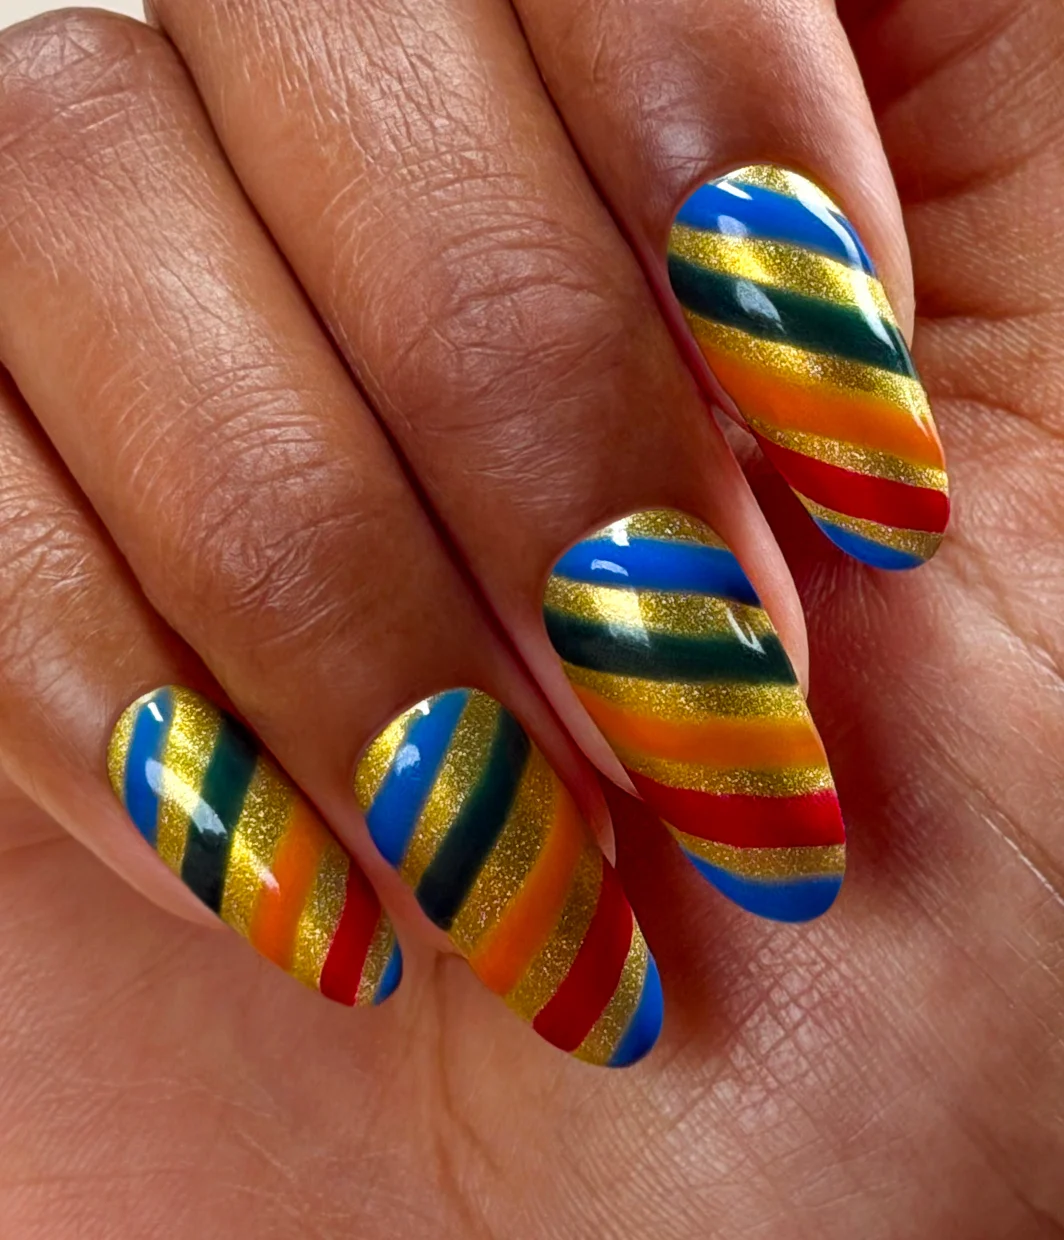
How to Use Sticker Stencils
Use stickers as temporary stencils to control exactly where color lands—sharper lines, cleaner negative space, more intentional design.
Step by Step
Step 1
Before You Start:
Nail Lacquer: applied and dry to the touch—not top coated.
GelColor: applied, cured, and tacky layer removed with a lint-free wipe and N.A.S. 99—not top coated.
Step 2
Position sticker with tweezers. Press every edge completely flat. Any lifted edge lets product bleed under.
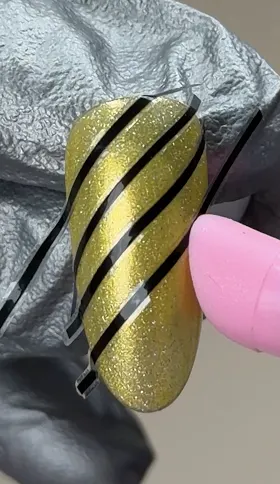
Step 3
Float, tap, or lightly brush color over the stencil. Don't flood. Excess product bleeds and softens line definition.
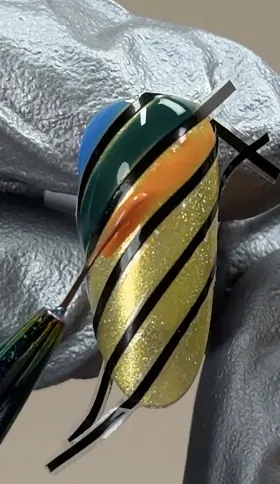
Step 4
With gel, remove stencil before curing. With lacquer, remove while slightly wet (pull slowly at an angle). Too dry = tearing. Too wet = smearing. Fully cured = stuck.
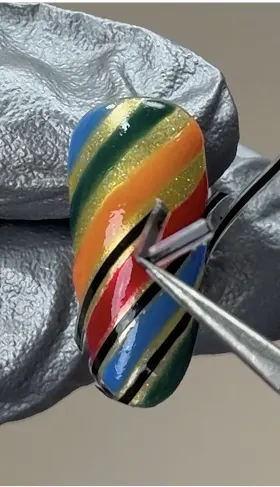
Step 5
Top coat to seal and smooth the design. Sealing locks in precision and improves wear.
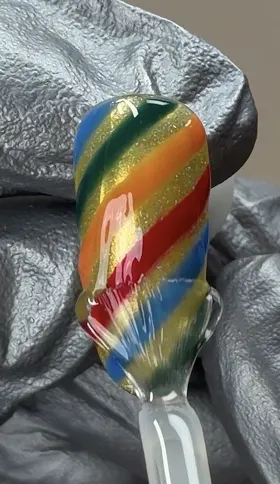
Video Tutorial
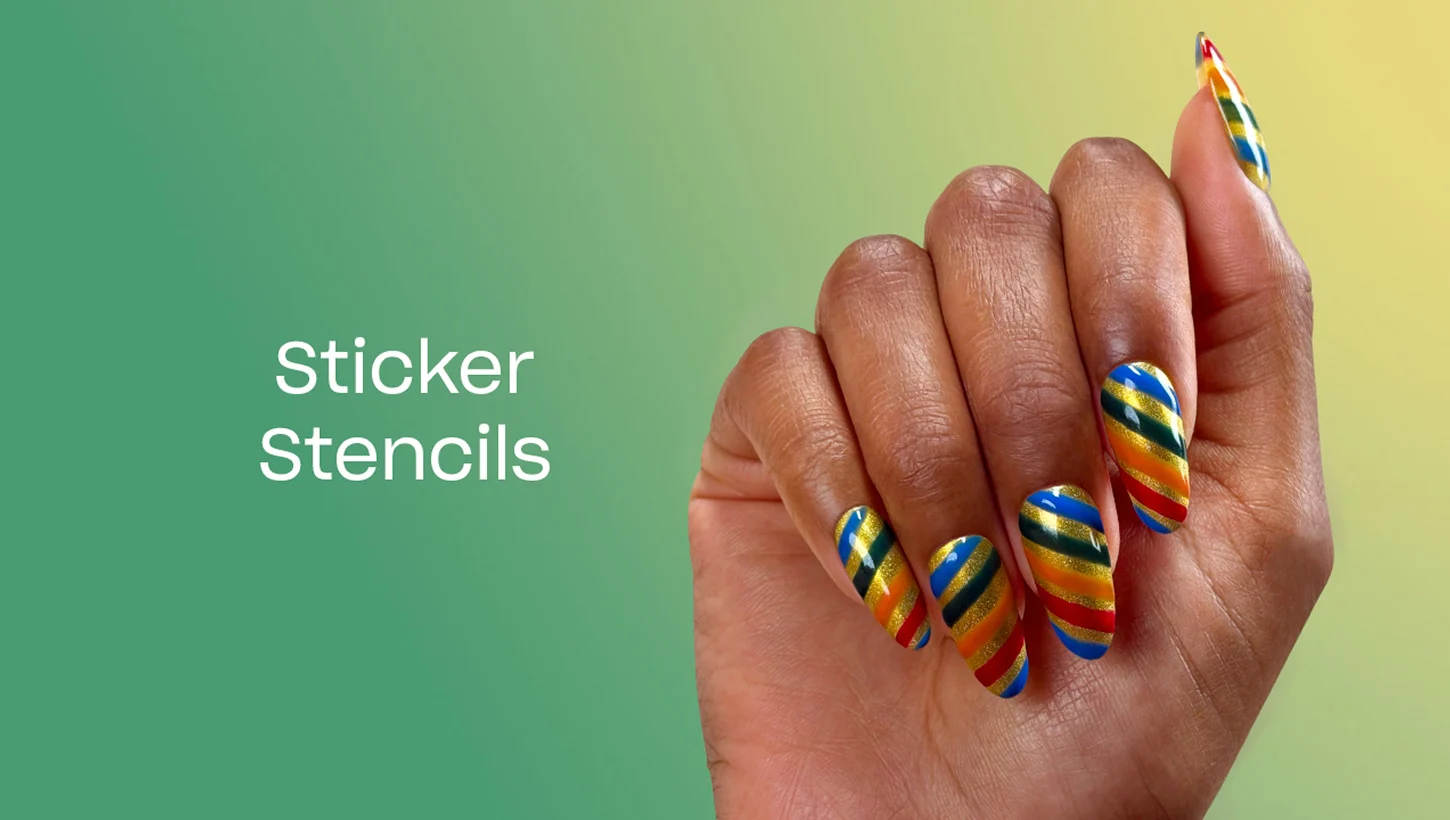
OPI x M&M'S Holiday Collection Nail Art Techniques
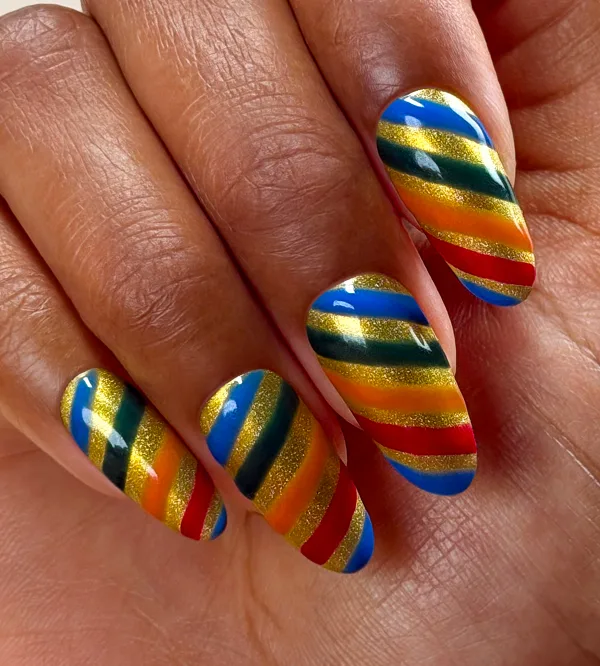
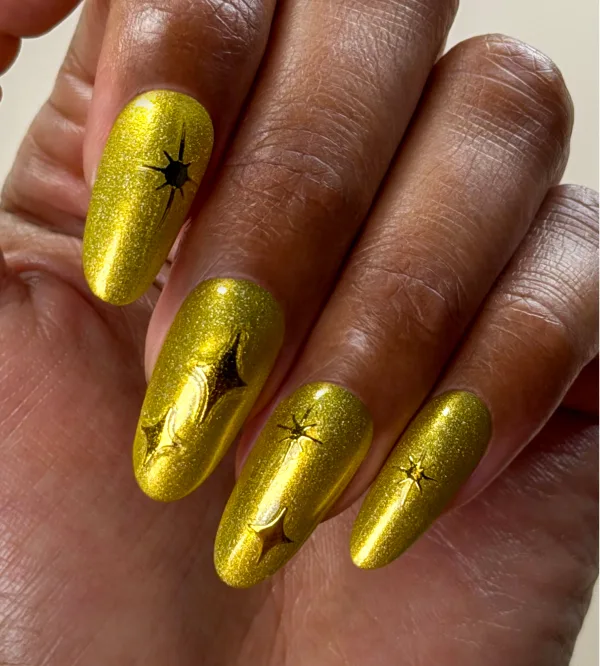

Show 'Em Off
Snap a nailfie and tag us @opi or use #OPIObsessed for a chance to be featured on our channels.
Follow us on Instagram