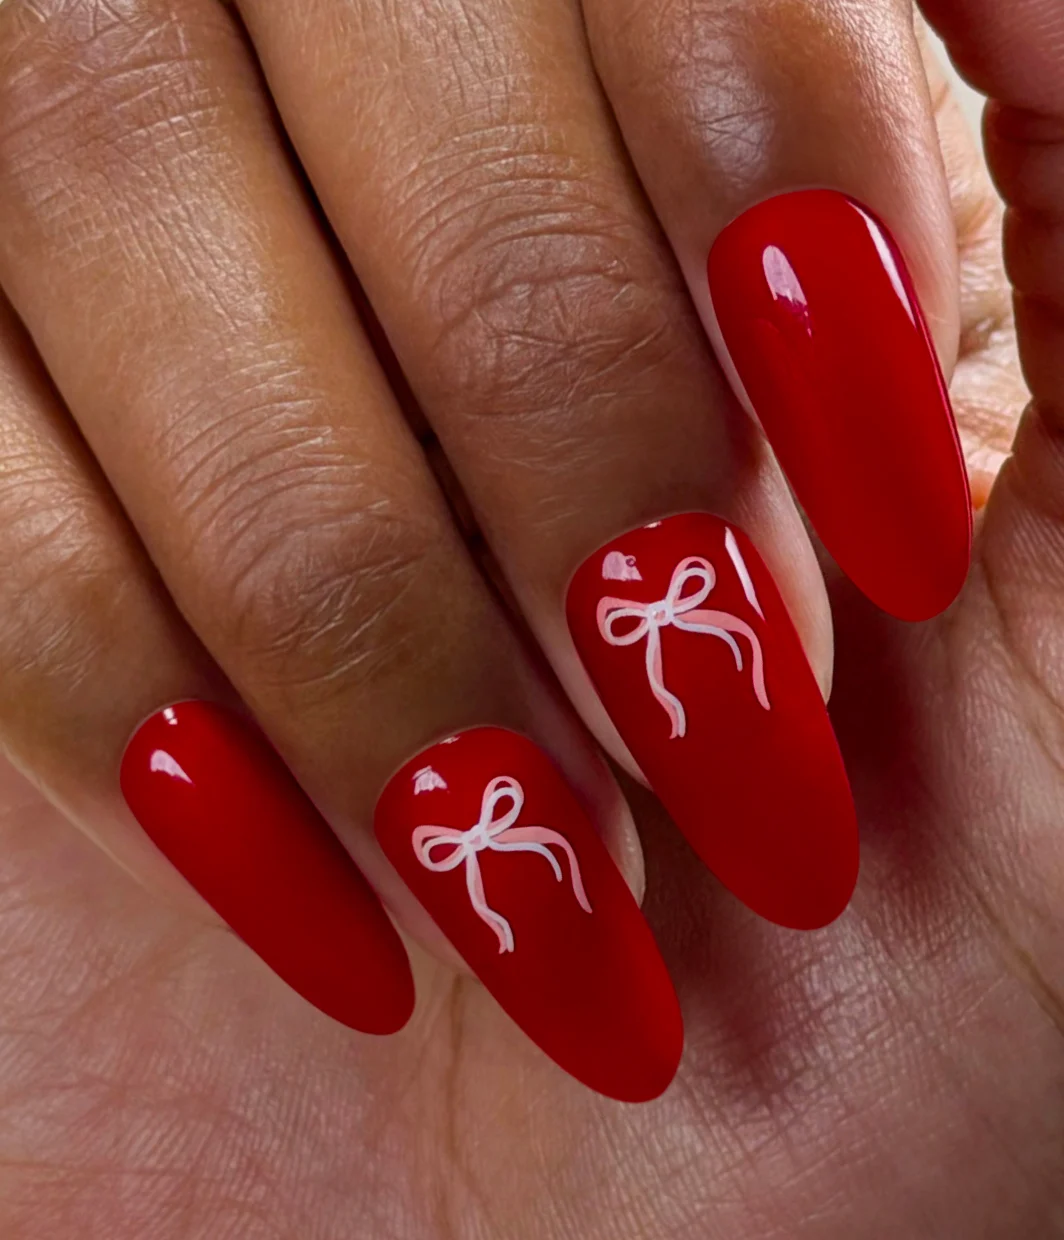
How to Encapsulate Stickers with Lacquer
Learn controlled sticker placement so your design stays flat, adheres fully, and doesn't lift or wrinkle over time.
Step by Step
Step 1
Before You Start: Have Nail Lacquer applied and dry to the touch—not top coated. A soft surface traps air that causes lifting and can also dent the finish.
Step 2
Use tweezers to minimize finger contact with the adhesive. Oils weaken adhesion. Place once; repositioning scuffs the surface.
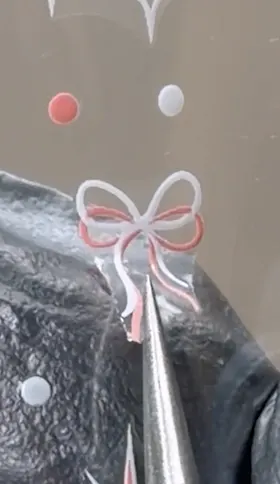
Step 3
Press center outward with a silicone tool until fully flat. Air pockets = lifting. This step determines how long the design lasts.
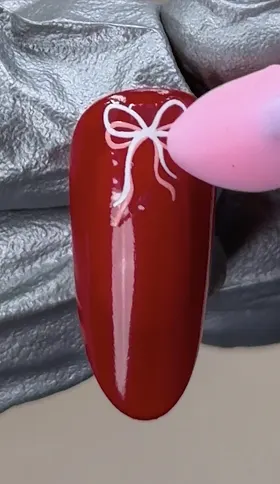
Step 4
Apply top coat over and around all sticker edges. Sealing is what prevents peeling.
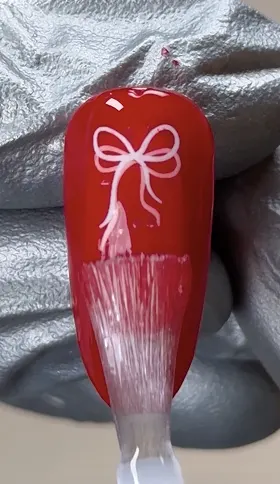
Video Tutorial
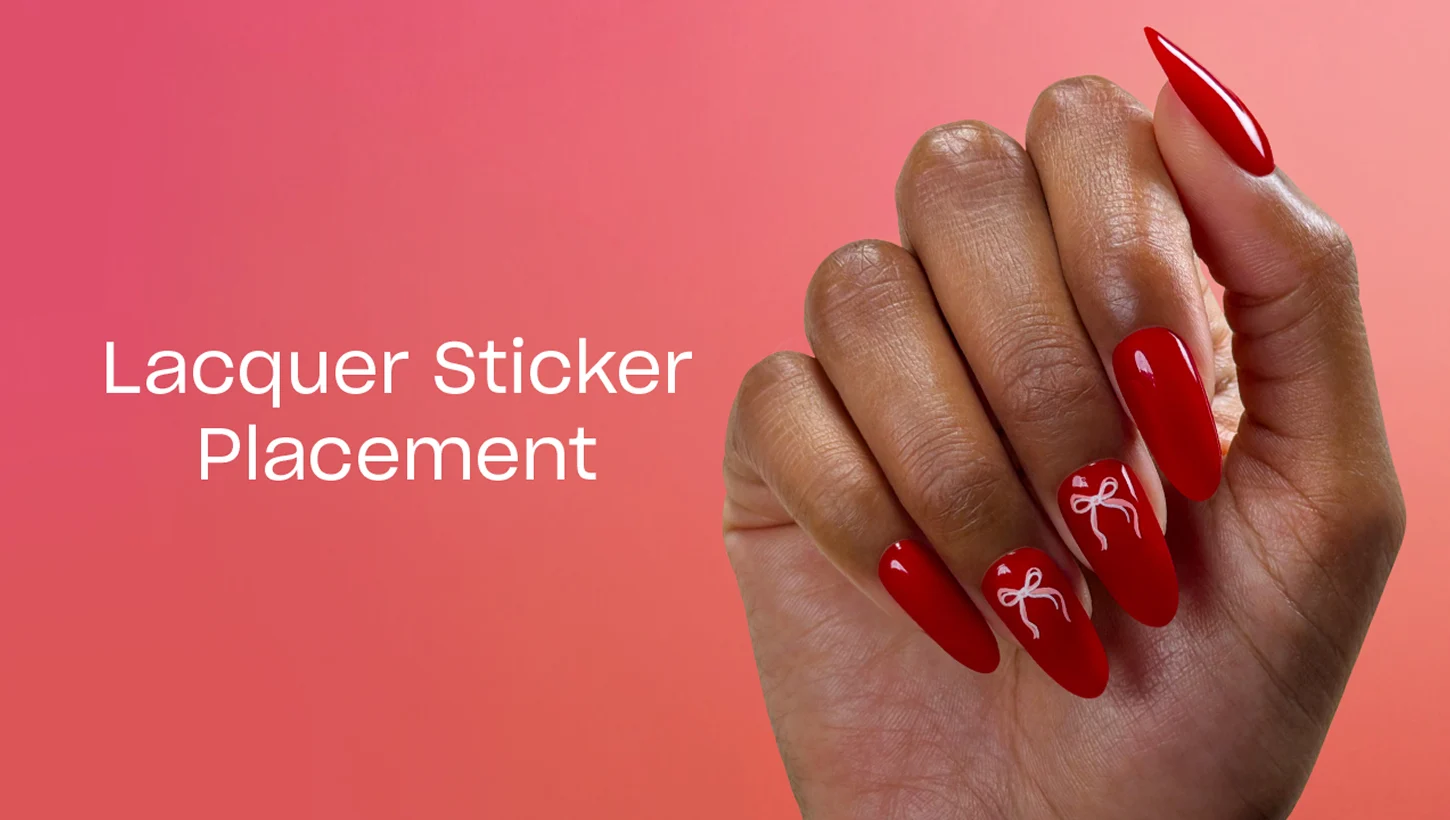
OPI x M&M'S Holiday Collection Nail Art Techniques
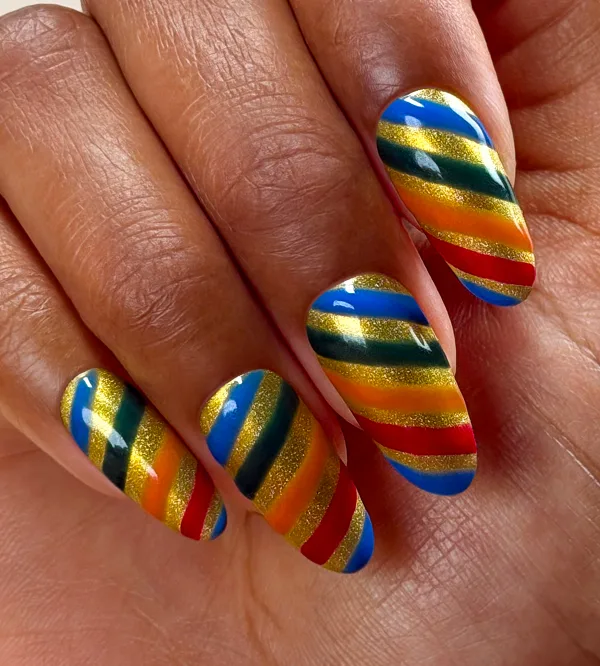
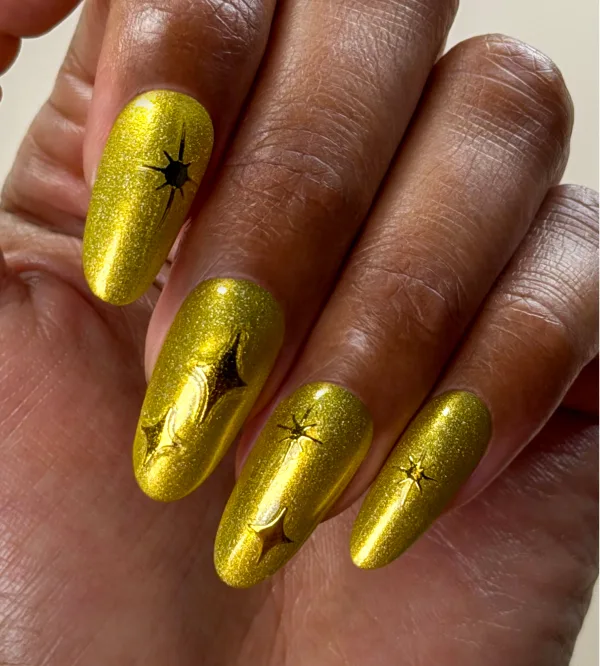
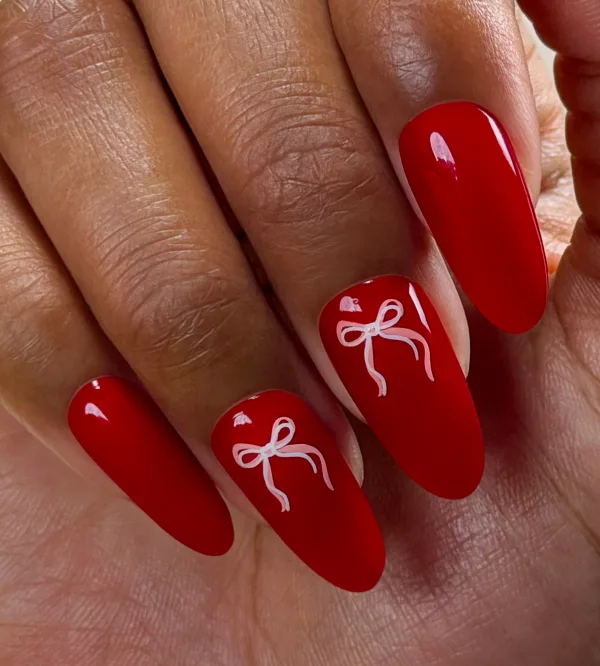

Show 'Em Off
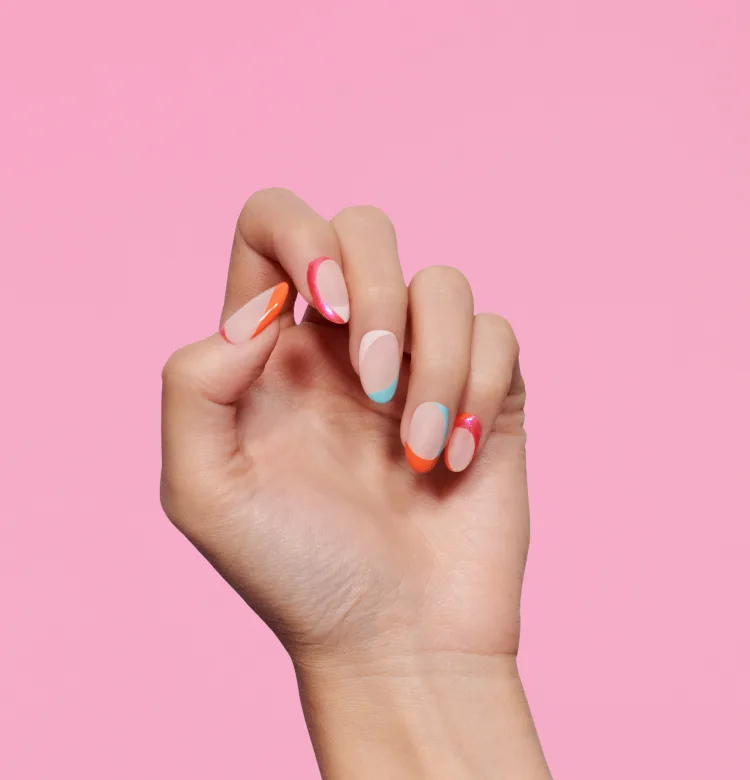
Snap a nailfie and tag us @opi or use #OPIObsessed for a chance to be featured on our channels.
Follow us on Instagram