Product Spotlight

Your Complete Guide to On Point Press-On Nails

Commitment-phobes unite! You can have it all with On Point.

Your Complete Guide to On Point Press-On Nails

Choosing just one manicure? Couldn't be us. Some people have a signature look. We've got a saved folder full of nail inspo and zero intention of narrowing it down. Thankfully, On Point press-ons let you switch up your style in an instant. Iconic neutrals, trend-forward nail art, and up to 14 days of long-wear. You really can have it all.

SHOP ON POINT


On Point Press-On Nails 

The Highlights: 

- Up to 14 days of long-wear

- Iconic neutrals plus trend-forward nail art (French tips, fruity accents, pearlescent finishes, and more)

- So mani ways to press (glue it down or keep it commitment-free with sticky tabs)

- An easy five-minute application process

Every Trend, Zero Commitment Necessary

Every Trend, Zero Commitment Necessary

Iconic shade families, plus a few extras to keep you on your toes.

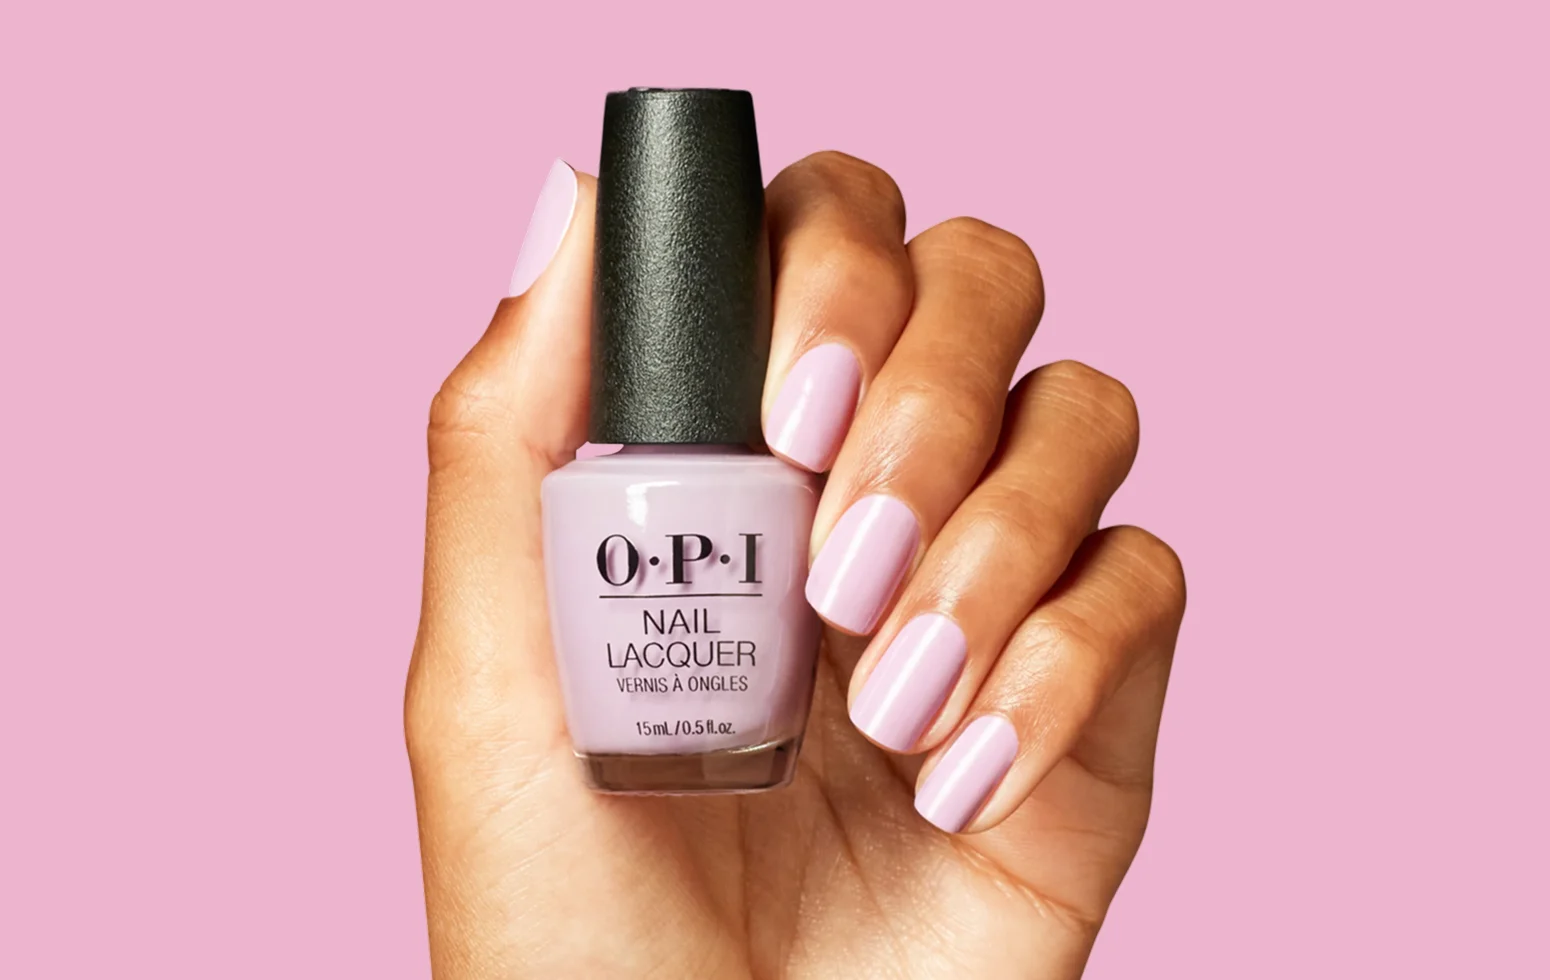
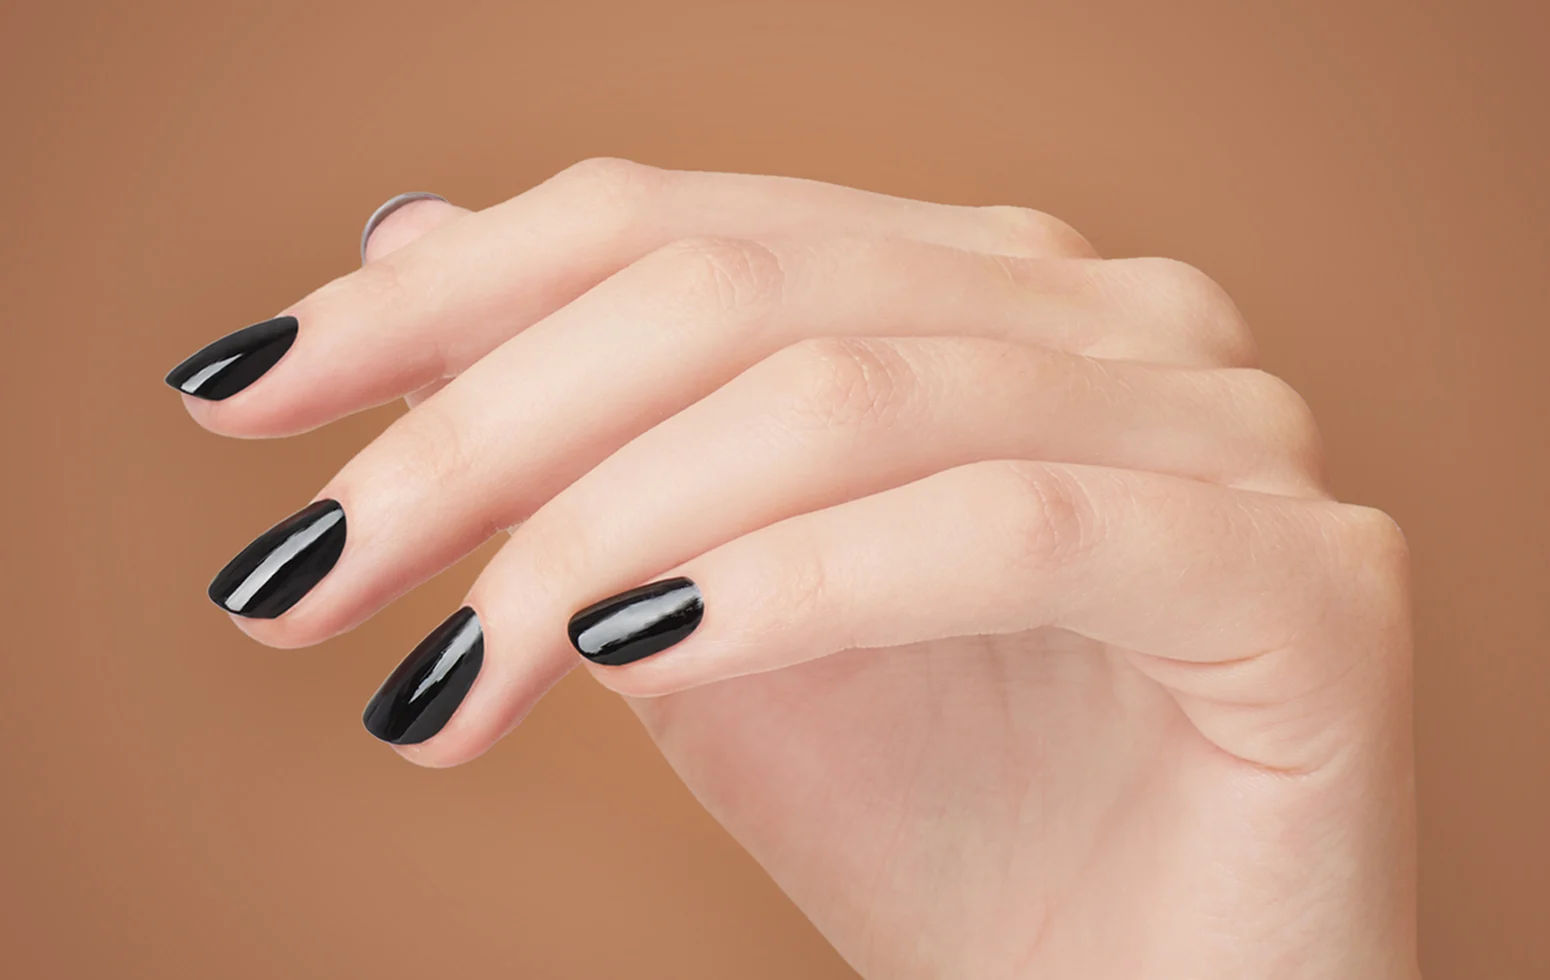
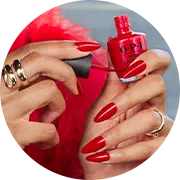
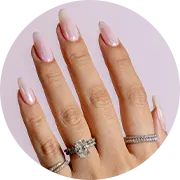
Keep it simple with a timeless nude like Put It In Neutral, or go dark and moody with You Don't Know Jacques!. Want something with more personality? There's no shortage of trendy nail art to pick from. French tips, fruity accents, and pearlescent finishes all make the case for never settling on one look.
SHOP ON POINT

Your nails should fit your vibe

Your nails should fit your vibe


Take your pick of almond, squoval, square, round, or coffin. Short and clean or long and loud, it's all on the table.


SHOP ALL NAIL SHAPES


How to Apply Press-on Nails

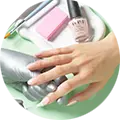
Every On Point kit comes stocked with everything you need: a dual file and buffer, a cuticle stick, and nails in enough sizes to fit anyone. Here's how to go from bare nails to full mani in five easy steps.
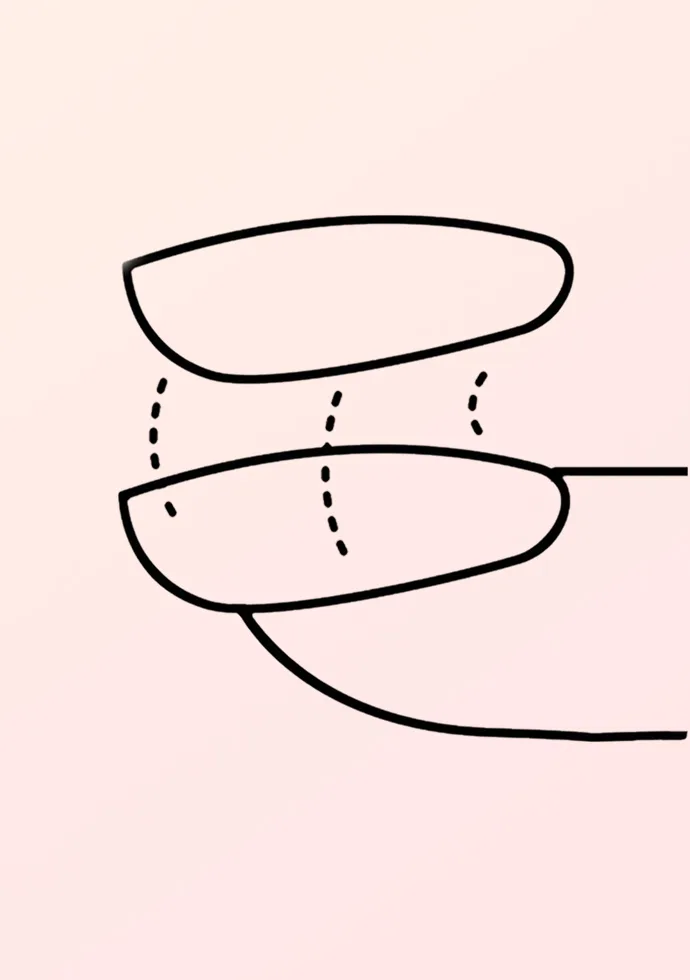
Step 1: How to Apply Press-on Nails
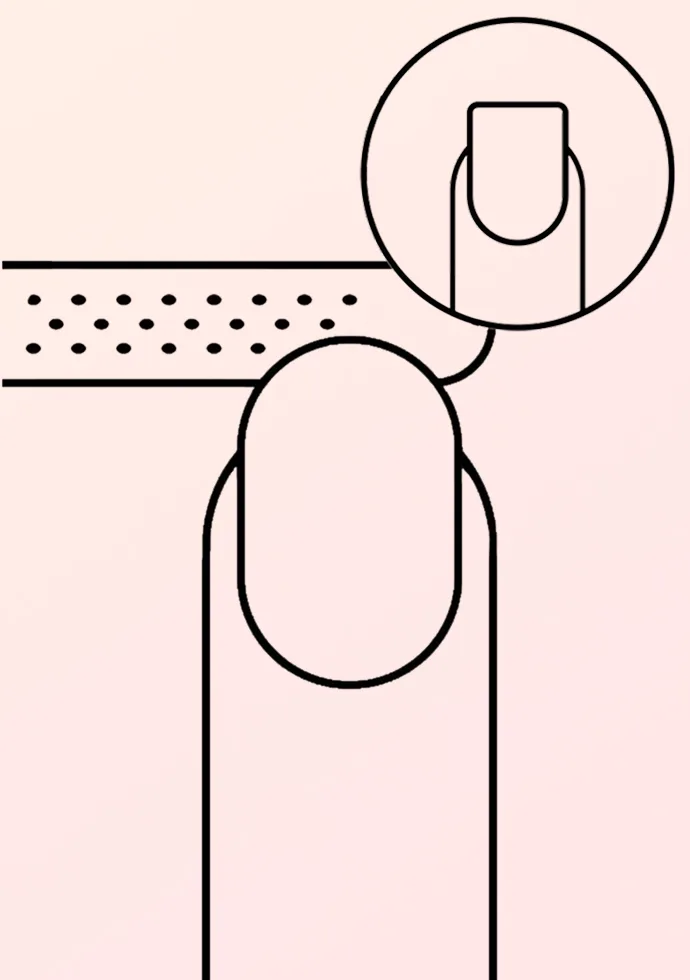
Step 1:

Hold each press-on up to your natural nail to find your perfect size before you commit to anything.
Step 2: How to Apply Press-on Nails

Step 2:

Square, round, almond, stiletto, squoval? Use the Shape Up side of your file to customize the length and shape exactly how you want it.
Step 3: How to Apply Press-on Nails

Step 3:

Buff, file, wipe, and don't skip pushing back those cuticles. This is the unglamorous step nobody talks about, but it's the actual secret to a mani that lasts.
Step 4: How to Apply Press-on Nails

Step 4:

Pick how you press. 
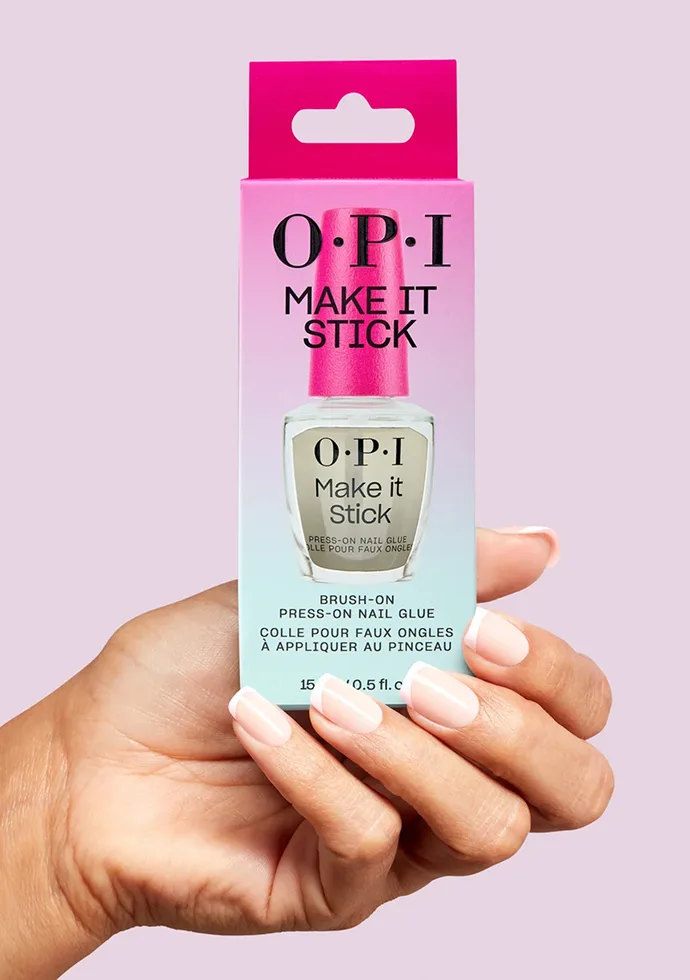
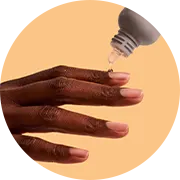
Going long-term? Reach for OPI Make It Stick Brush-on Nail Glue

Going long-term? Reach for glue.

Apply Make It Stick Glue to both the press-on and your natural nail, then hold for 30 seconds.

MAKE IT STICK GLUE

Need something for tonight? OPI Make It Stick No-glue nail adhesive tabs are your move.

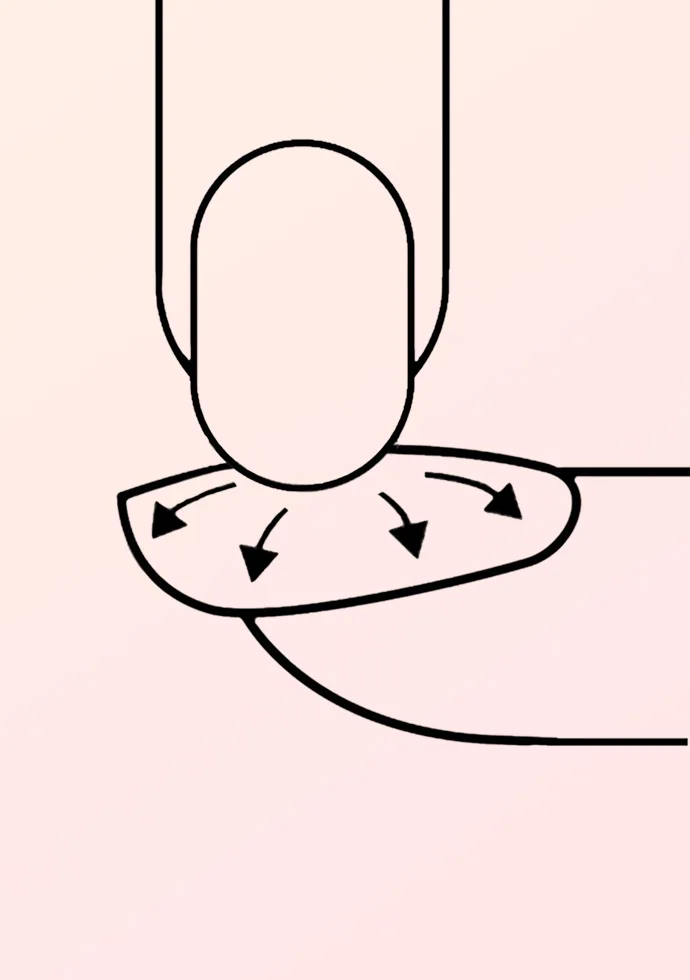
Need something for tonight? No-glue is your move.

Apply Make It Stick Tabs to the back of the press-on, hold for 30 seconds, and massage lightly to seal it in.

MAKE IT STICK TABS

Glue vs. Tabs: Which One’s For You?  

Here's the thing: there's no wrong answer, just what fits your plans. Every On Point kit comes with glue for classic application, but if you want more control, Make It Stick Glue's brush-on formula makes precision easy. Not trying to commit to glue at all? Make It Stick Tabs work with any On Point set and are basically made for last-minute plans. Date night, spontaneous brunch, sitting in the passenger seat. You’re covered for all of it. 

How to Remove On Point Press-on Nails

When you're ready for a change, soak your nails in warm water for 10 minutes, then gently lift them off with the cuticle stick. No damage, no drama.

Press-on Nails FAQs

Glue gets you up to 14 days. Adhesive tabs get you up to 7. Either way, prep is what actually determines how long they stay put. Push back your cuticles, buff the shine off your natural nail, and wipe away oils with the prep pad before you apply anything. Press each tip down firmly, then stay away from water for at least an hour. Skip the prep, lose the wear time.

Press-ons don't damage your nails. Bad removal does. Soak your nails in warm water for about 10 minutes, apply a small amount of acetone to the nail base with a cotton swab, then gently lift with a cuticle stick. Patience over force, every time.

Depends what you need. Adhesive Tabs (OPI Sticking Point and Make It Stick Tabs) are for shorter-term wear, up to 7 days, and they're the easy in-and-out option for a special event. Nail Glue (OPI xPRESSION, On Point, Make It Stick Glue) is for long-term wear, up to 14 days, and a more secure hold. On Point and xPRESSION both work with either: pair with Make It Stick Tabs for the short game or Make It Stick Glue for the long one.

Every OPI press-on kit comes with 30 tips across 14 to 16 sizes, so there's a fit for you. Hold each tip over your nail plate: it should sit snugly from sidewall to sidewall without creeping onto your skin or cuticles. Between sizes? Size down. Too wide or too curved? A standard nail file on the sides will fix that. Use the sizing sheet in your kit to lay everything out and file to fit before you touch any glue. Length gets customized after application by filing the free edge.

Yes. Tabs: peel off the old residue and go again. Glue: scrape off the dried residue, or soak a cotton swab in acetone to dissolve what's left, then reuse.

Yes. They're water-resistant, so your normal routine doesn't have to change around them.